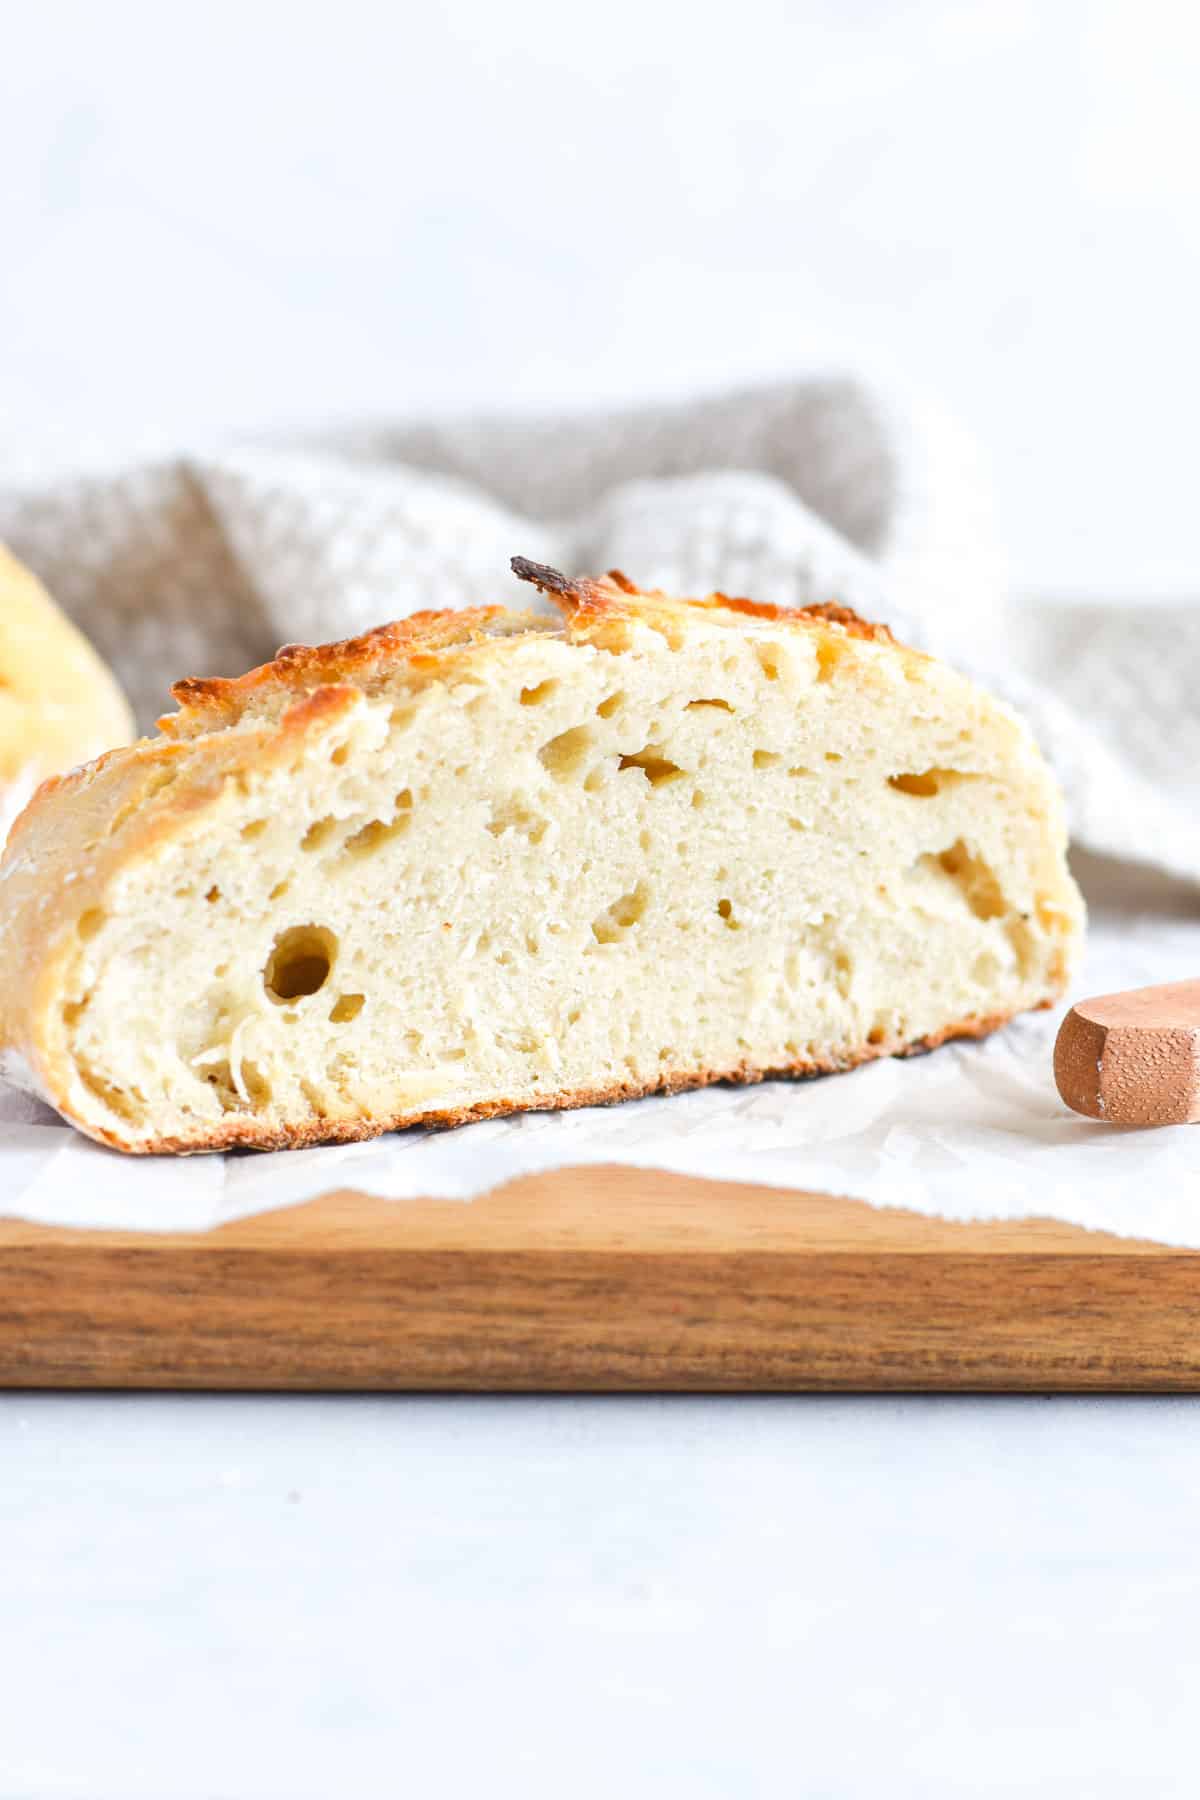
This easy no knead, Dutch oven sourdough bread is made with just 4 ingredients! You can have this incredible artisan-style sourdough bread ready to go with minimal effort. It’s moist with a crusty exterior and that signature tangy sourdough flavor.
Jump to:
- Why You’ll Love this Recipe
- What is Sourdough?
- Benefits of Sourdough
- Ingredient Notes
- How to Make this Recipe
- Dutch Oven Baking
- How Does No Knead Bread Work?
- Using Sourdough Discard
- Frequently Asked Questions (FAQs)
- Troubleshooting Your Bread
- Expert Tips
- Variations of this Recipe
- How to Serve
- Storage Tips
- Try These Recipes Next
- Dutch Oven Sourdough Bread
Why You’ll Love this Recipe
Our no knead, Dutch oven sourdough bread recipe was adapted from our favorite artisan bread recipe. Using a Dutch oven to bake this sourdough bread helps create a beautiful rise and rustic, crunchy crust. You’ll love this European-style, artisan bread that tastes straight out of a bakery.
Sourdough bread usually takes a lot of effort. This no-knead, Dutch oven sourdough bread method is a convenient and uncomplicated way of producing fantastic bread with little time and effort. The extended fermentation period contributes to the development of a distinct flavor and texture, which is typically challenging to accomplish using conventional bread-making techniques.
What is Sourdough?
Sourdough bread is a type of bread that is naturally fermented and leavened without the use of commercial yeast. The leavening process is instead achieved through wild yeast, which is cultivated in a sourdough starter. The starter is made by mixing flour and water and allowing it to ferment.
To keep the yeast and naturally occurring bacteria alive, the starter is fed regularly with fresh flour. As the yeast and bacteria consume the flour, they release carbon dioxide, which is responsible for the rising of sourdough bread.
We use Paul Hollywood’s sourdough starter to make our bread, but any sourdough starter will work as long as it is strong and active. Your starter should be fed 12-24 hours before using in this recipe and showing signs of activity.
Benefits of Sourdough
Easier to Digest. The fermentation process used making sourdough bread breaks down gluten and other complex carbohydrates in the dough, making it easier to digest and it is often better for people with gluten sensitivity.
Lower Glycemic Index. Sourdough bread has a lower glycemic index than other types of bread. Sourdough bread is made using a long fermentation process that results in the development of complex carbohydrates that the body breaks down more slowly, resulting in more stable blood sugar levels. This is true, even though we are using refined flour in this recipe!
Longer Shelf Life. Sourdough’s acidic nature enables it to remain fresh for an extended period compared to other types of homemade bread.
Ingredient Notes
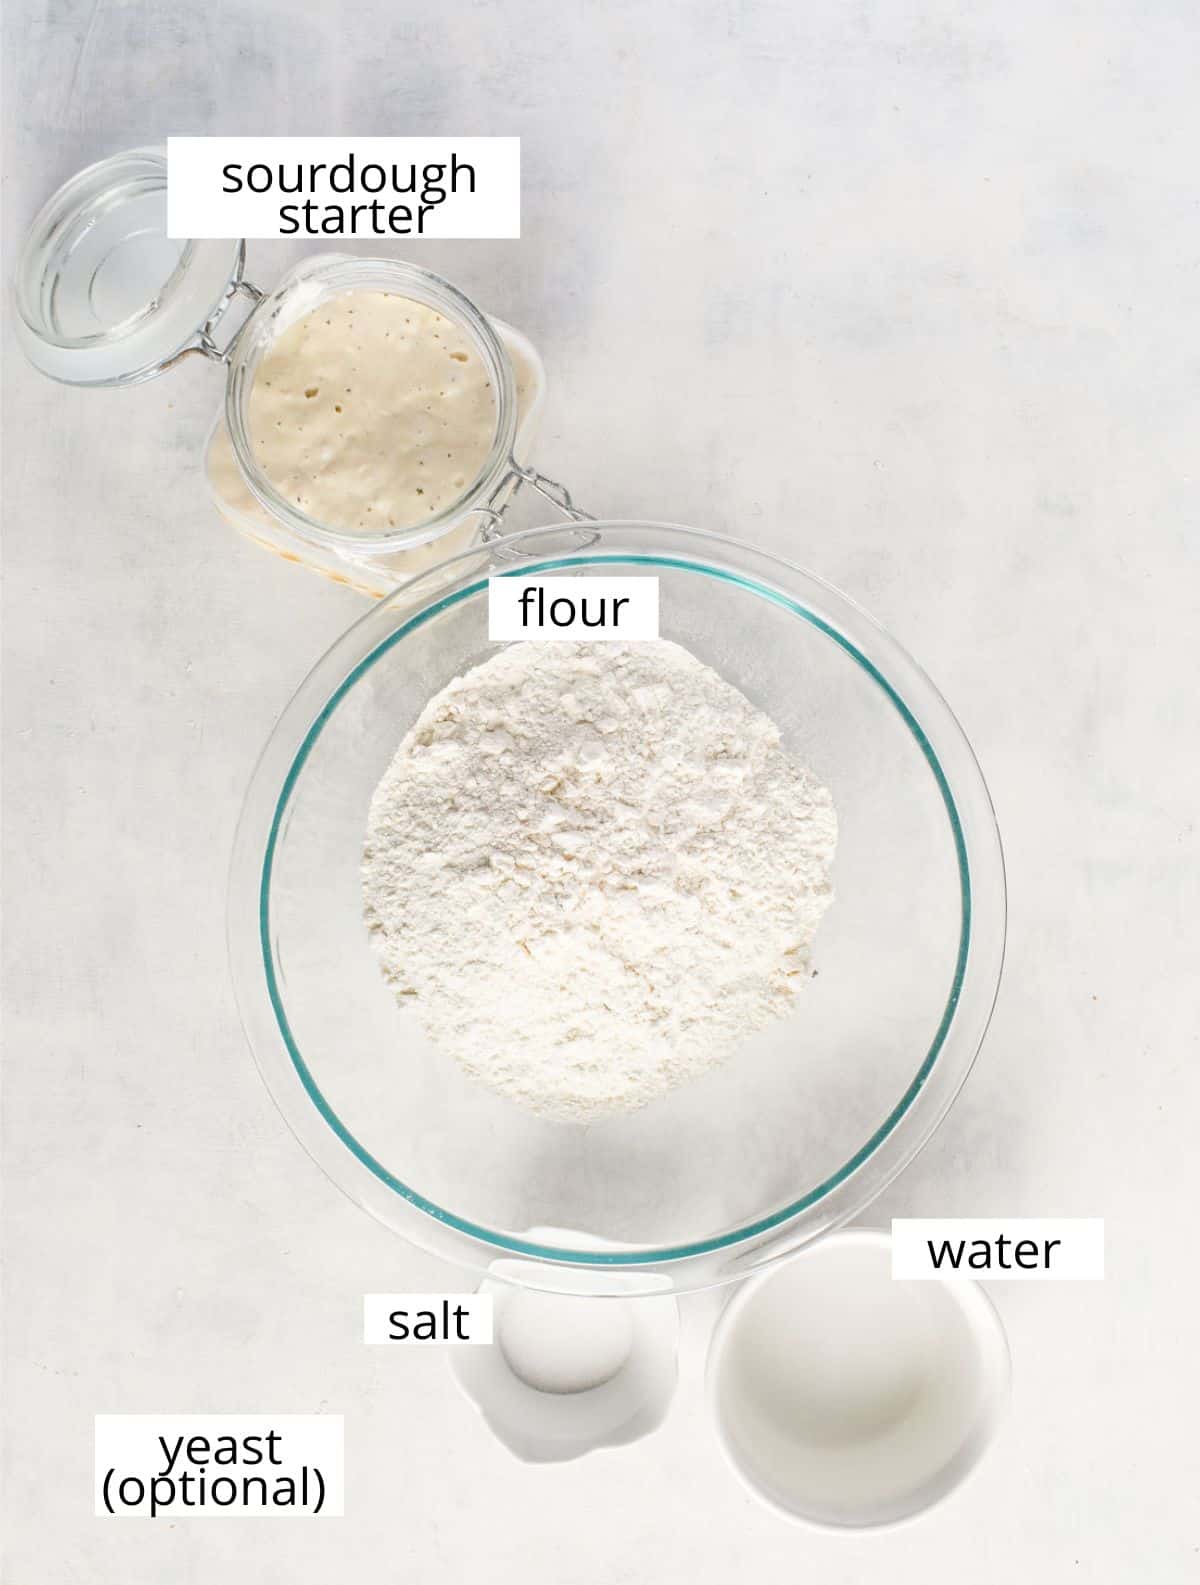
- Sourdough Starter. You’ll need active sourdough starter to help this bread rise and get the fermentation process going.
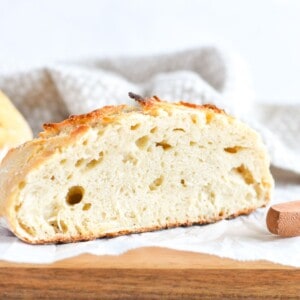
- Flour. Use all-purpose flour. You might think bread flour is the better option here, however because bread flour has more protein gives this Dutch oven sourdough bread a thicker crust. All-purpose gives a more open structure.
- Water. Use warm, not hot water. I use tap water. However, if your tap water isn’t great, I suggest using bottled water.
- Salt. you can use table salt or kosher salt. Salt slows down the rising process in bread, giving it more flavor and a stronger structure.
- Yeast. This is an optional ingredient. Sourdough can be finicky. If your sourdough starter is weak, inactive, or you are having problems with your bread being gummy and dense add yeast to your dough. It will help the bread rise more than the starter alone while still maintaining a sourdough flavor.
How to Make this Recipe
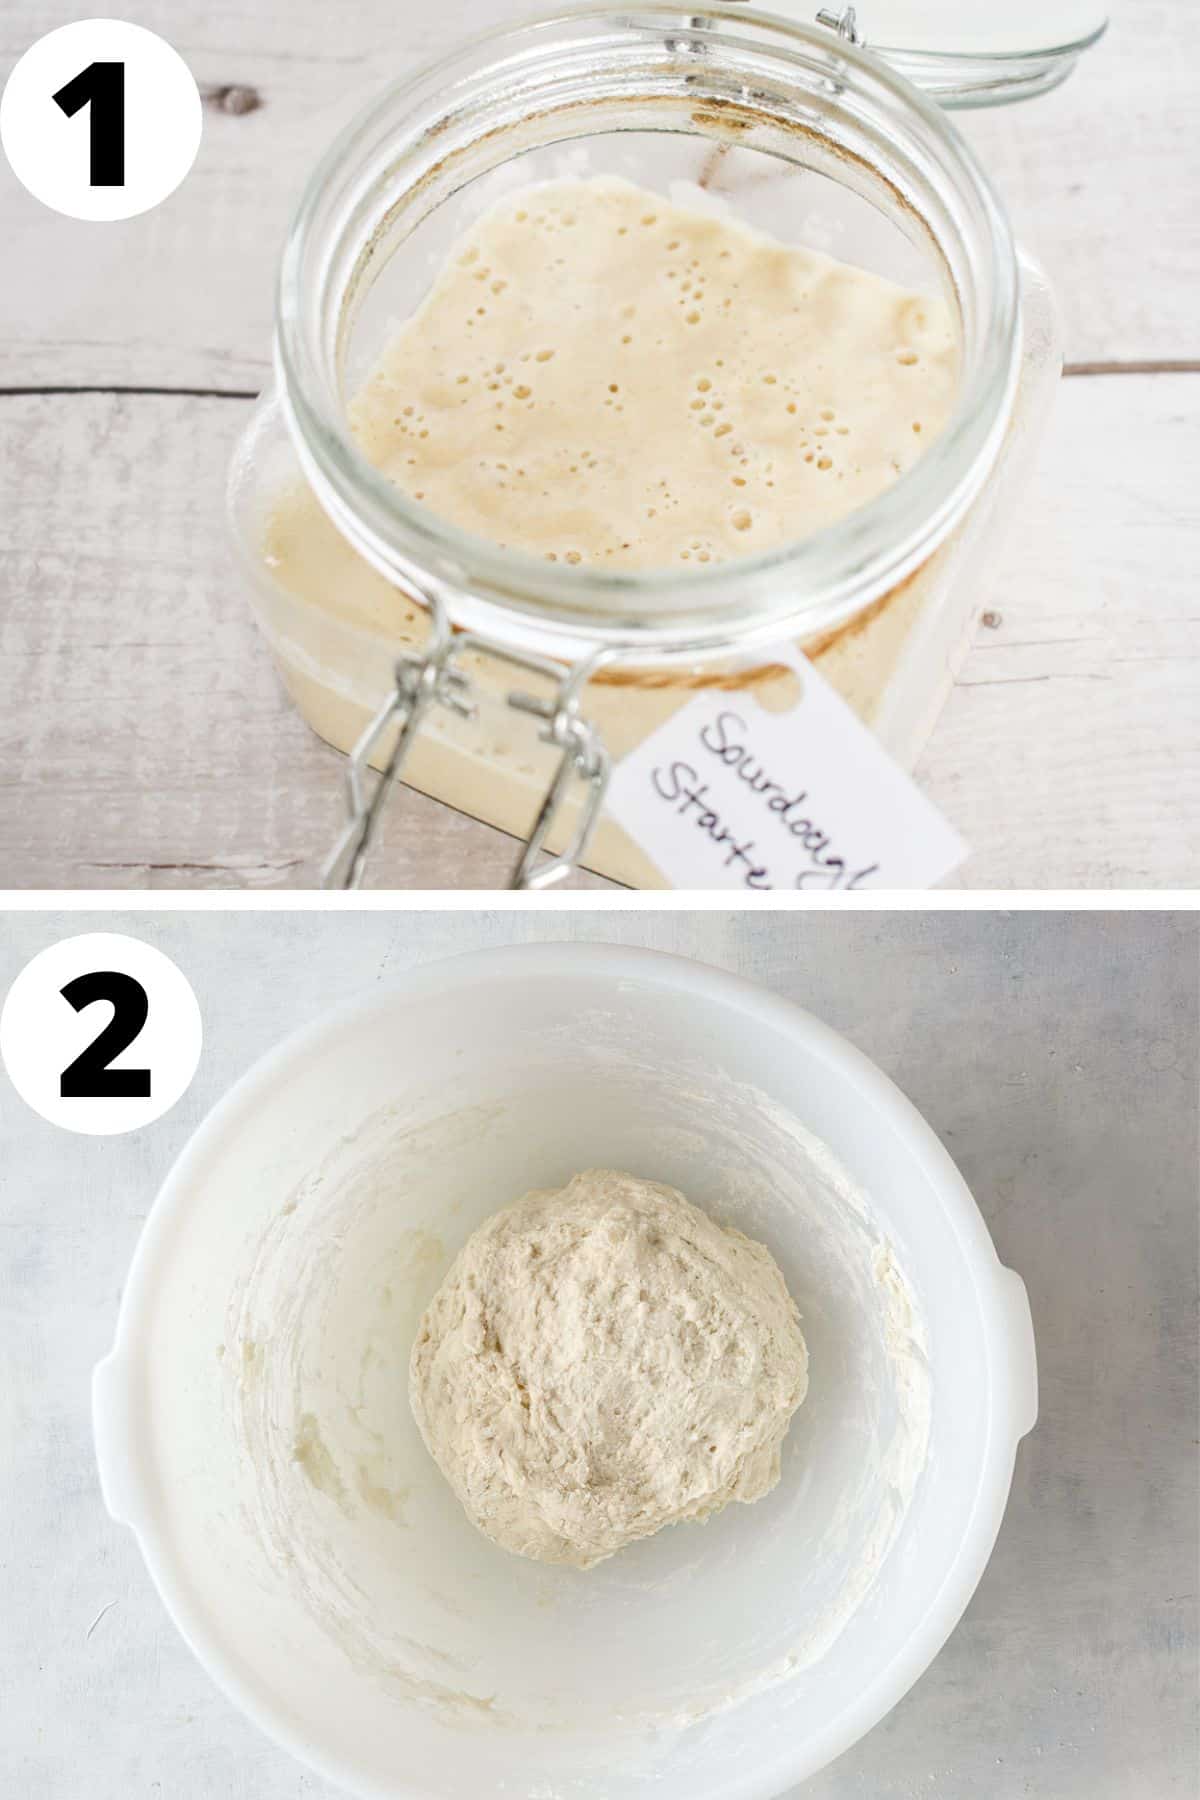
- Start with Active Starter. Feed your sourdough starter 12-24 hours before using it. Make sure it is active!
- Mix together. In a large mixing bowl, mix tougher flour, salt, sourdough starter, and warm water together until you have a shaggy dough. Fold the dough over a few times to make sure all the ingredients are completely incorporated.
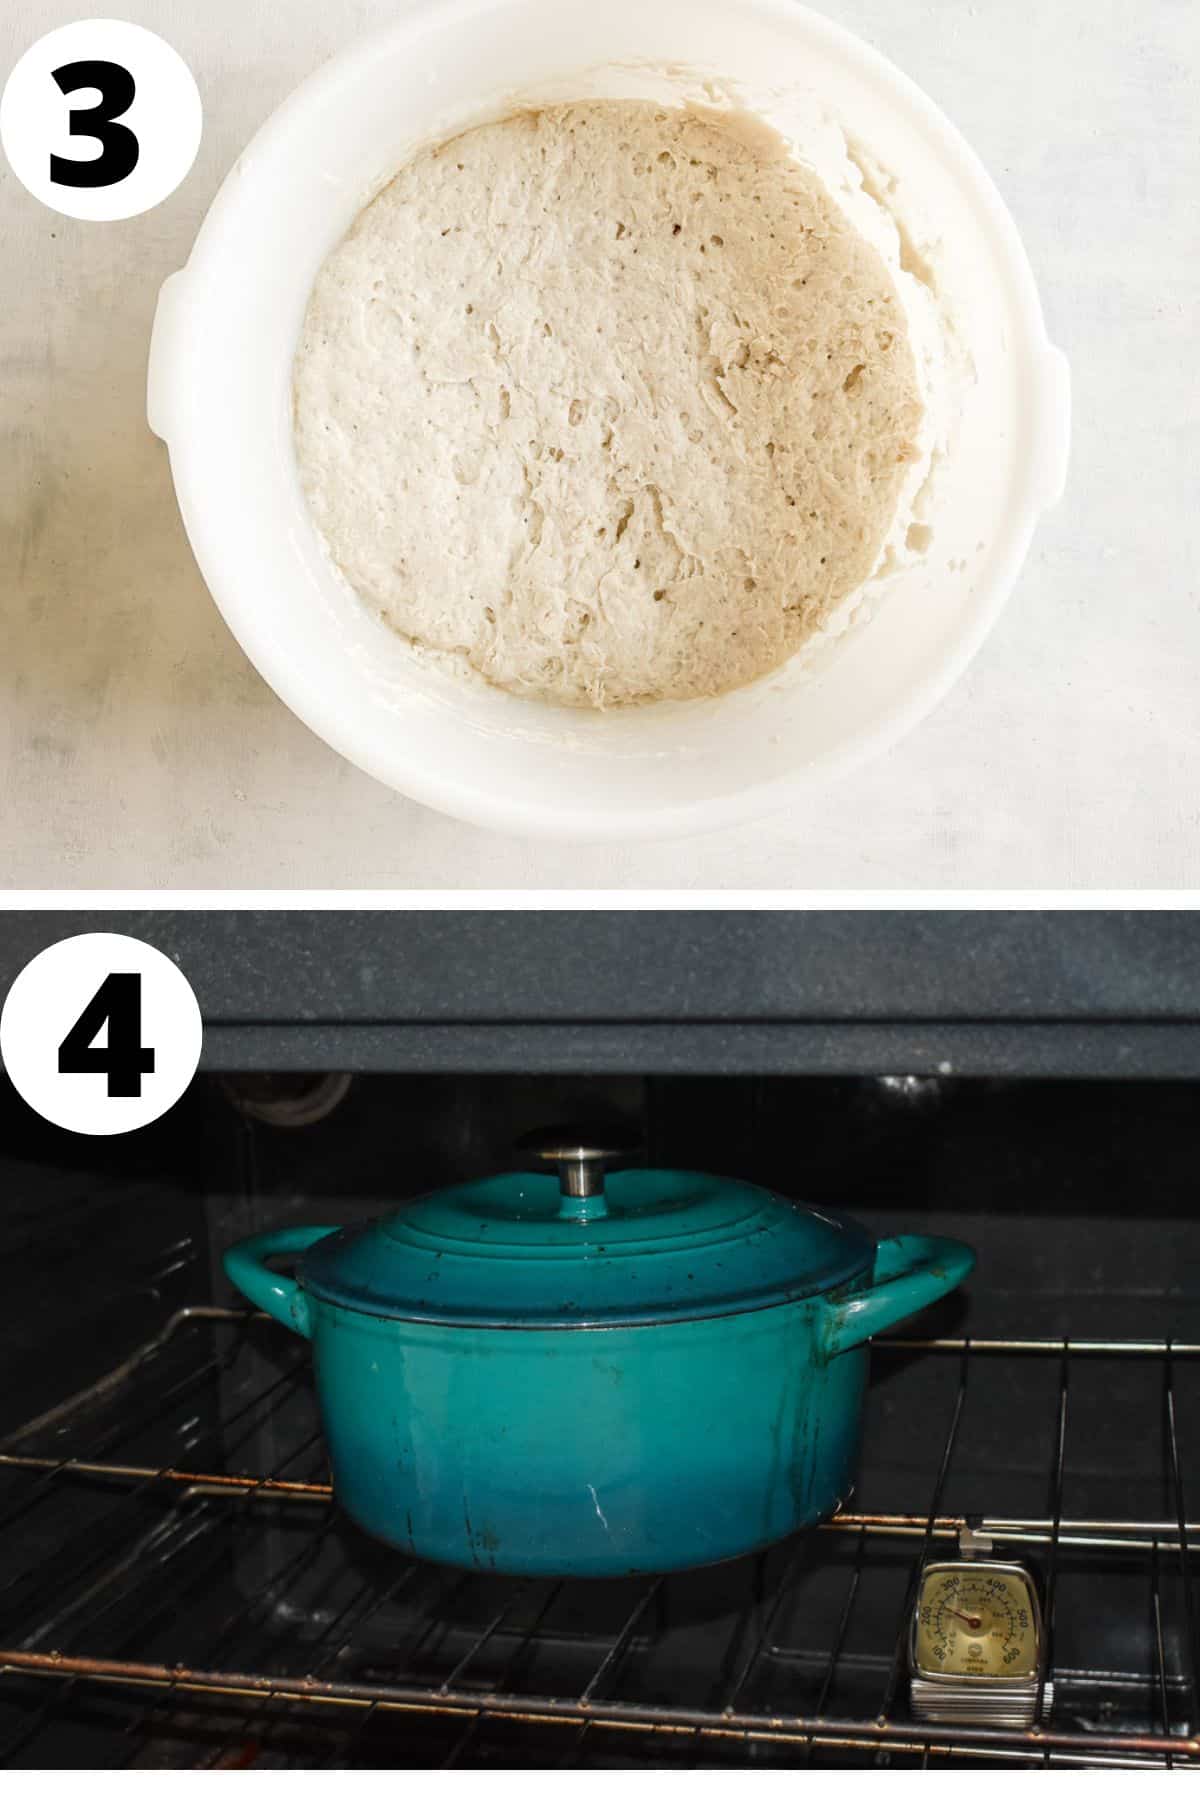
- Wait Patiently. Cover the bowl with plastic wrap and let rest and rise for 18-24 hours at room temperature.
- Preheat Oven. Place your Dutch oven, with lid on, in the oven and preheat the oven to 450 degrees Fahrenheit. Let the Dutch oven heat up in the oven for at least 30 minutes before using.
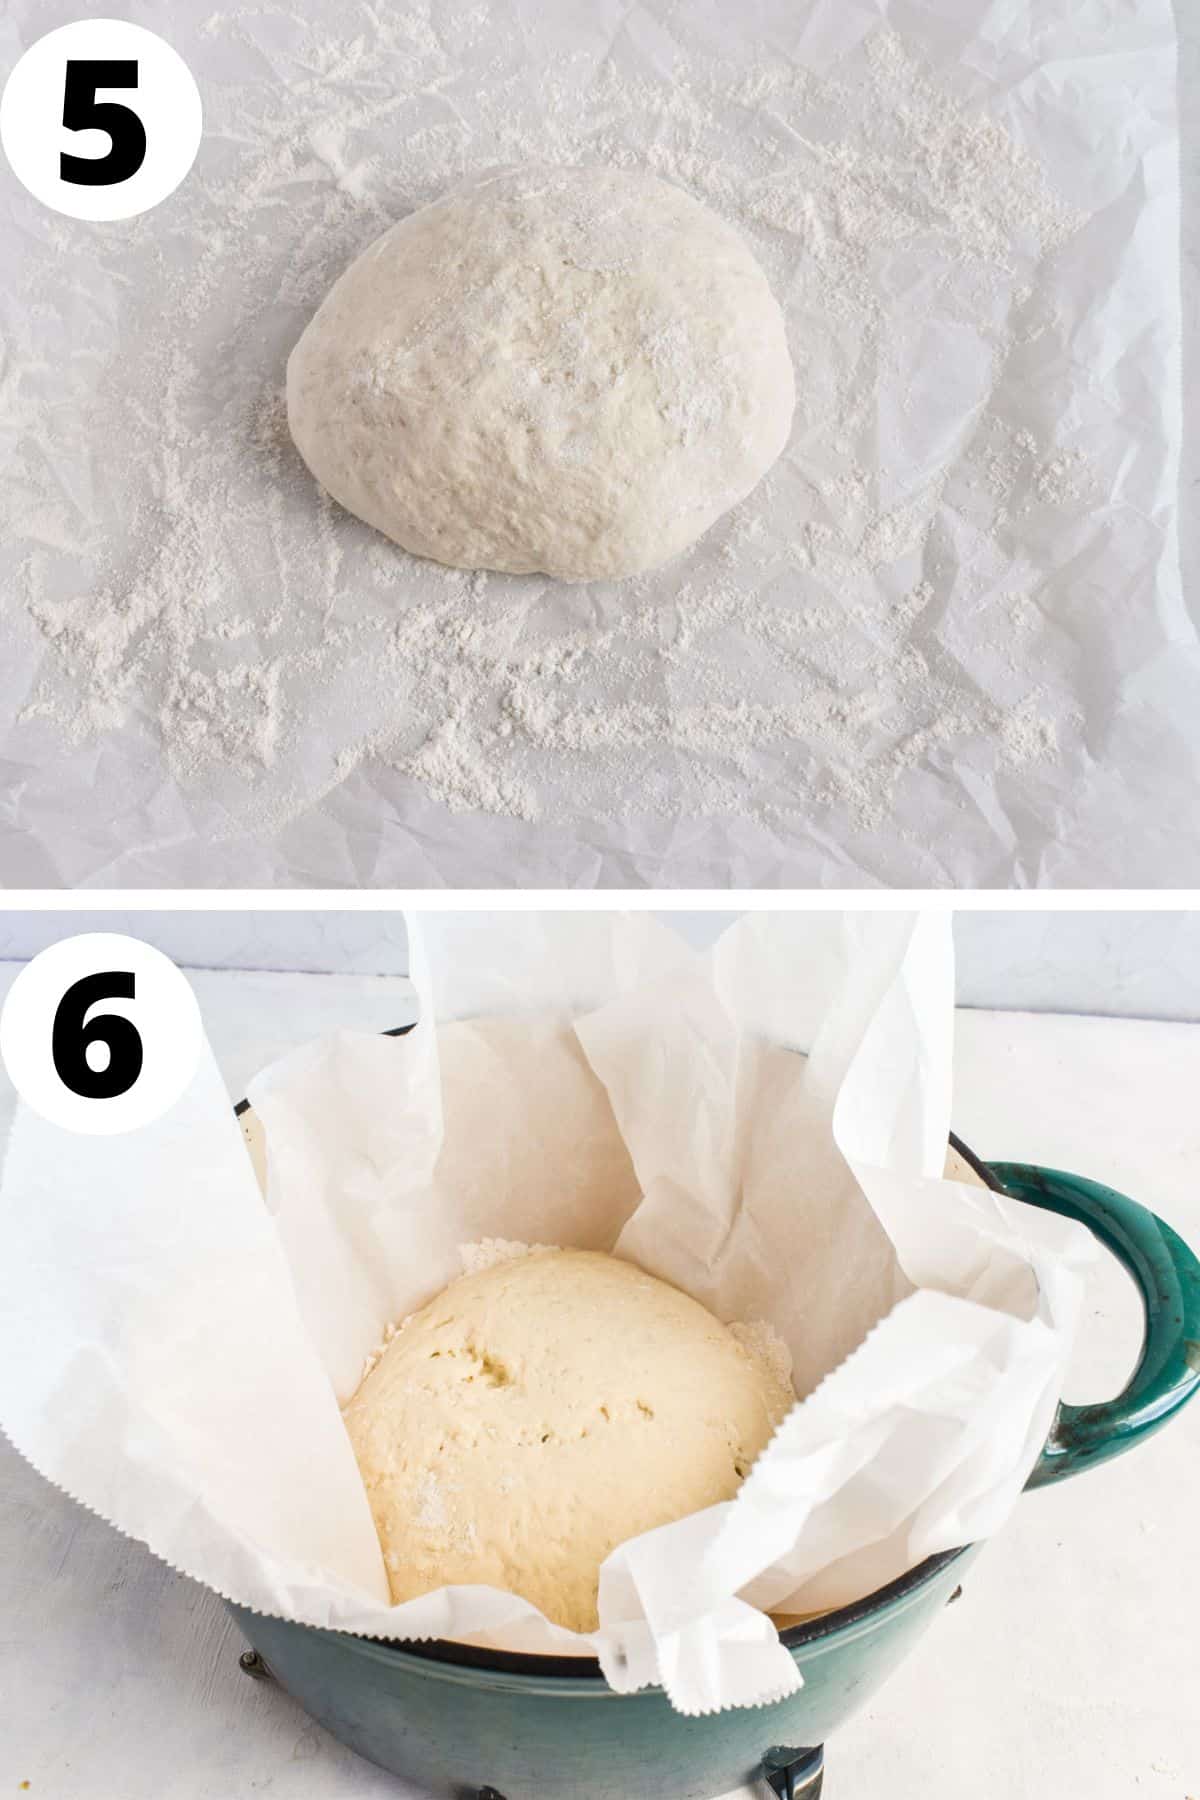
- Form Ball. Place a large piece of parchment paper on the counter and lightly dust it with flour. Gently tip the bread dough onto the floured parchment paper. Shape the dough into a ball. Cover with plastic wrap or a towel and let rest for 20-30 minutes.
- Bake. Remove the Dutch oven from the oven and remove the lid (be careful, it is hot!). Score the bread with an X and then lower the parchment paper and the dough into the pot. Replace the lid and return to the oven for 30 minutes.
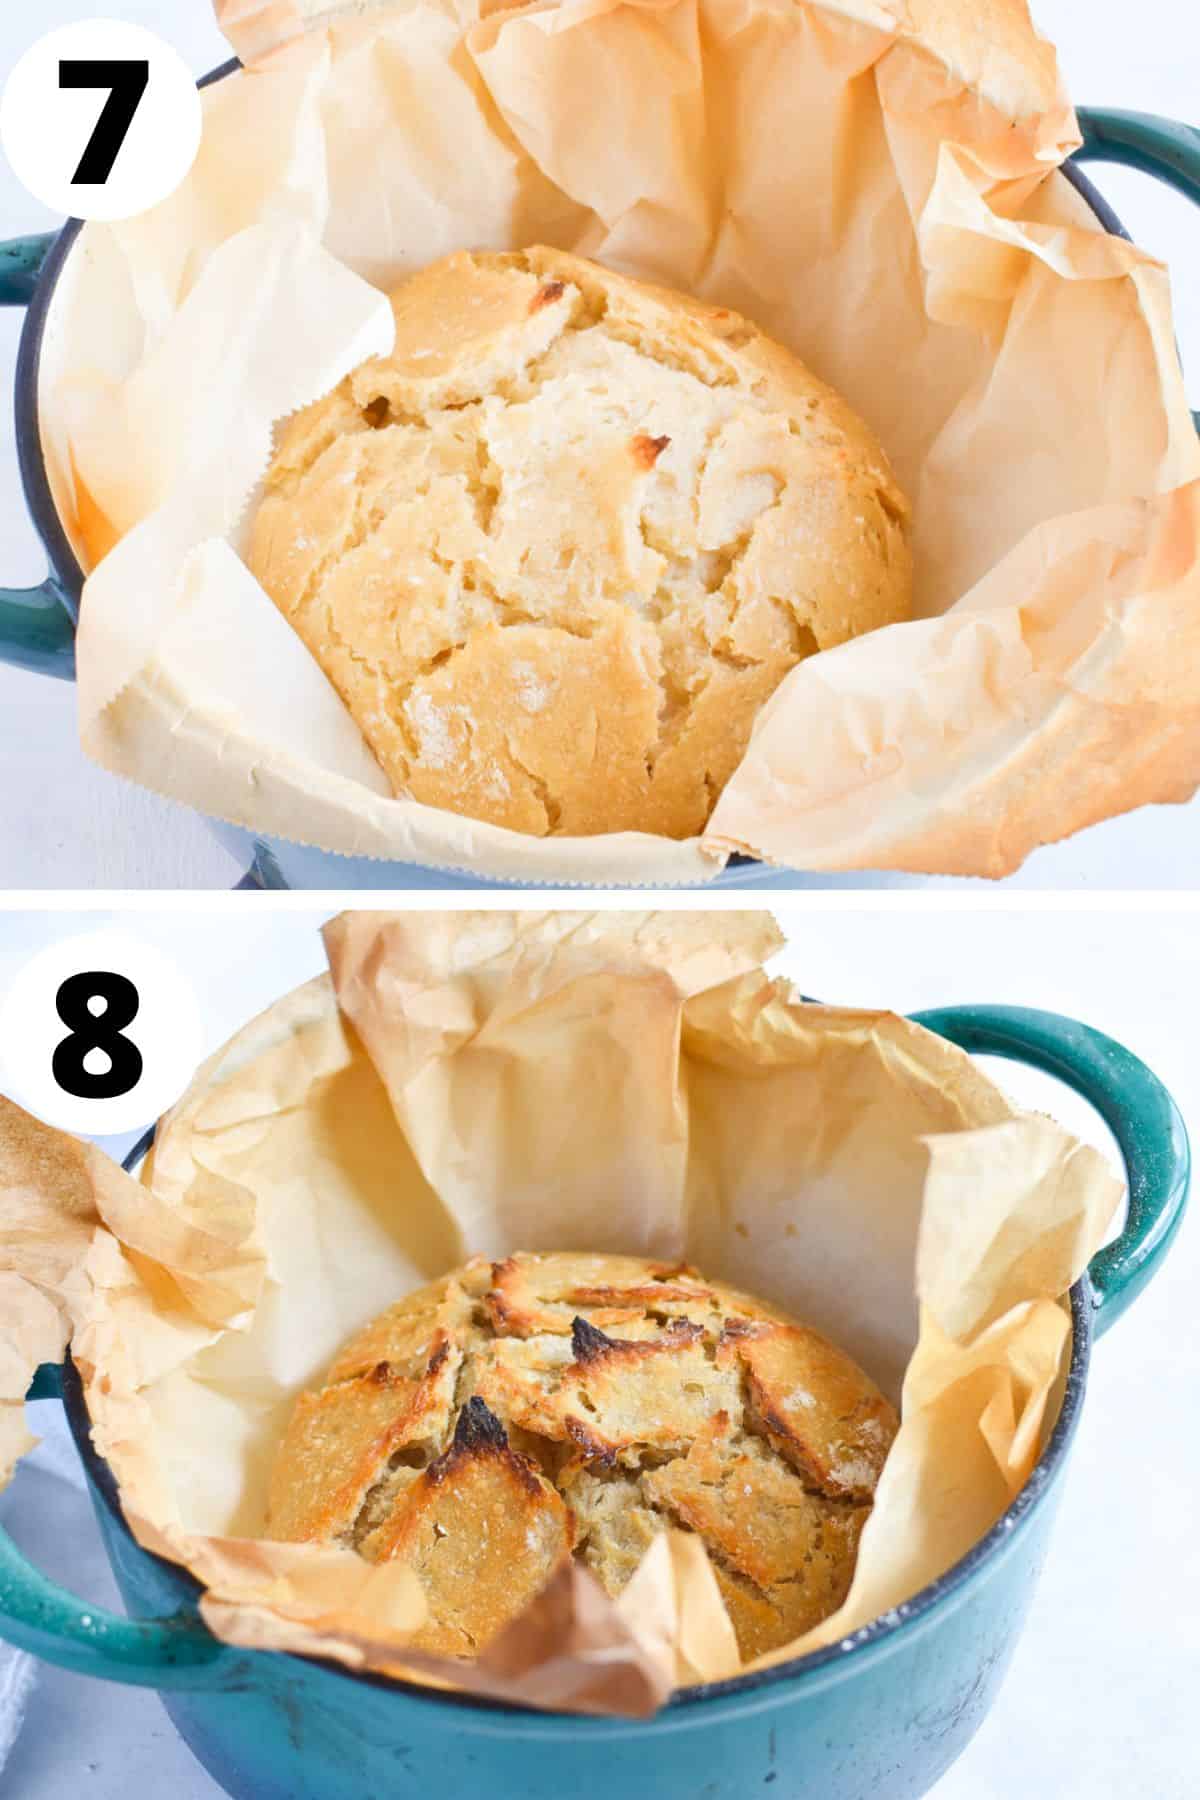
- Remove Lid. Remove the Dutch oven from the oven, take off the lid. Then, return the bread to the oven for an additional 10 minutes.
- Cool. Remove the Dutch oven from the oven. Carefully lift the edges of the parchment paper to remove the loaf from the pot. Place on a cooling rack to cool. Cool at least 30 minutes before slicing into.
Dutch Oven Baking
What is a Dutch oven?
A Dutch oven is a heavy, fairly shallow pot with a tight fitting lid. Most of the Dutch ovens you see today are cast iron or enameled cast iron pots with two handles on the sides and lids.
The two most important things about the Dutch oven are the weight and the tight fitting lid. These two are essential for maintaining a constant temperature in the oven or on the stove.
What Does a Dutch Oven Do For Bread
Short Story: Dutch ovens help maintain heat, retain moisture, and give your bread a crisp crust and better rise.
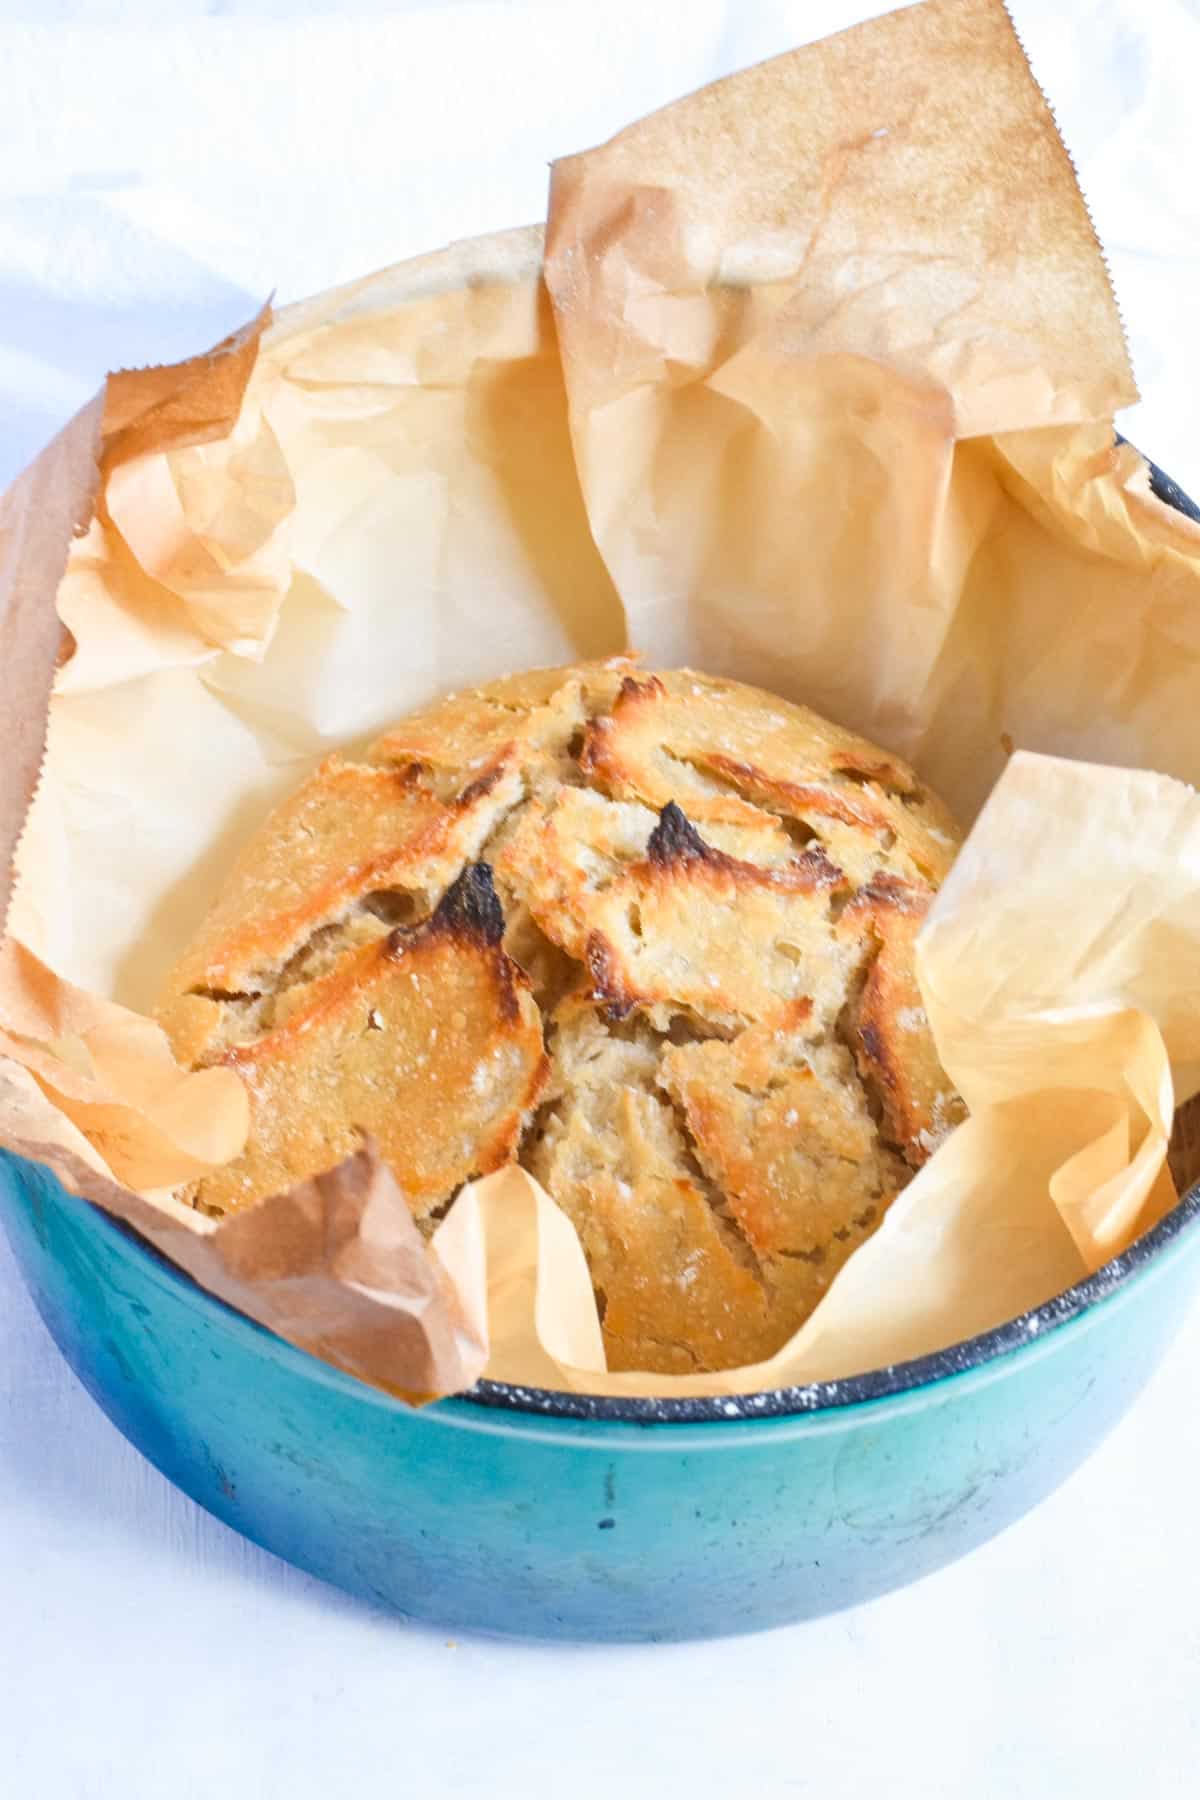
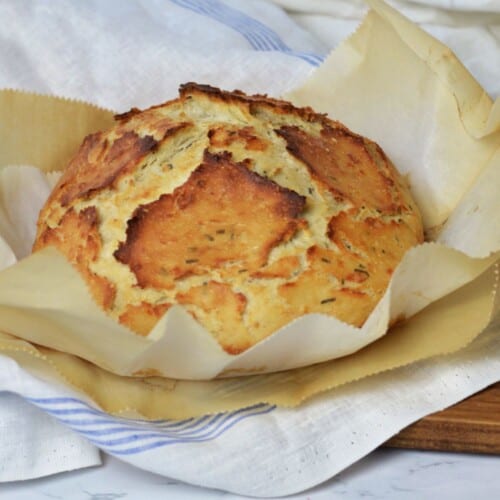
Long Story: Dutch ovens create a moisture-sealed compartment that traps steam. The high, intense heat and steam of the Dutch oven gives the sourdough bread a boost in rising before a crust can form on the outside. The steam also helps the naturally occurring sugars and starches in the bread to caramelize and pop resulting in a rich flavor and a beautifully golden, crispy, bubbly crust.
The steam and tight fitting lid trap the moisture in the bread so it does not dry out despite the high temperatures it is being baked out. The heavy pot and lid keeps the temperature inside the Dutch oven constant leaving you with a evenly baked loaf of Dutch oven sourdough bread.
How Does No Knead Bread Work?
Kneading is usually an essential part of breadmaking. It helps develop gluten, giving the bread structure. The gluten strands developed help trap air, allowing the bread to rise.
So, with this bread, where no kneading is done, how does it work? The secret is the long fermentation process. After mixing together the sourdough starter, water, flour, and salt, we let the mixture sit for 12-24 hours. The long resting time lets the gluten develop naturally without extensive kneading.
Once the resting period is over, the dough is formed into a ball or loaf and placed into a preheated oven for baking. As the dough is exposed to heat, the air pockets within it expand, resulting in a light and airy texture. Usually, the crust of no-knead bread is crispy and has a golden-brown appearance.
Using Sourdough Discard
You can actually use sourdough discard in this recipe. Sourdough discard is sourdough starter that is not active. If you’d like to use sourdough discard in this recipe, use the same amount of discard as starter called for in the recipe, then add a ½ teaspoon of dry yeast to the mix. The discard will still give you that classic sourdough flavor and the yeast will help it rise.
Frequently Asked Questions (FAQs)
For this recipe, you need a Dutch oven or something similar. I used an enameled cast iron pot with lid, you can use a traditional cast iron pot, or a pot with lid that is rated safe up to 450 degrees.
If you don’t have any of these items, you can use the ceramic interior of your crockpot/slow cooker. Preheat the ceramic pot in the oven, place your dough inside, spritz it with water, and cover the pot tightly with aluminum foil (be careful not to burn yourself). Do not use the glass lid that accompanies your slow cooker.
You preheat the Dutch oven with the lid on the oven before placing the dough inside the Dutch oven, with the lid, back in the oven. This helps trap moisture, creating steam, which helps the bread rise, stay moist, and produces a beautiful crusty exterior.
I recommend using a 4-5 quart Dutch oven for sourdough bread. Though larger will work too.
Parchment paper is not necessary, it is used for easy clean up and easily lower the dough into the pot.
450 degrees Fahrenheit is the best temperature to bake sourdough in a Dutch oven. At this temperature, the steam helps with oven spring (getting the dough to rise) and gives a golden, caramelized crust.
Sourdough bread should be baked in the Dutch oven for 30 minutes with the lid on and then 10 minutes without the lid to help the crust brown.
Troubleshooting Your Bread
- Too hard of crust. If your crust is to hard or too dark on the bottom, your oven may run hot! I’ve seen my oven jump to 500 degrees, when it’s set to just 450. Every oven runs a little differently, I recommend using an oven thermometer to make sure your oven is running the right temperature. If your oven runs hot, try lowering the temperature to 425 degrees Fahrenheit. If your bread is too dark on the bottom, try placing some cornmeal on the parchment paper underneath your dough to create an extra barrier between the bread and pot.
- Bread is Gummy. Bread may seem to be gummy if you cut into it while warm. If the bread still seems gummy after it has cooled completely then your starter may not have been active enough, or the dough needed to proof (sit on the counter) for longer. If you are consistently having problems with your bread being too gummy or dense try adding a ½ teaspoon of yeast to your dough, this will help it rise and proof faster.
- Bread is too dense. If your bread is too dense this is usually a sign that there was not enough time for the gluten strands and Co2 to develop or your starter wasn’t active enough. Let the dough proof for longer.
- Bread is flat. If your bread turns out flat this is a sign that the bready may be over-proofed. Meaning it needed less time sitting on the counter. If your kitchen was warm the fermentation process may have been accelerated.
Expert Tips
- Use active starter. Make sure your sourdough starter is room temperature, has been fed 12-24 hours before using, and is showing signs of activity.
- Check your Dutch oven. Double check that whatever Dutch oven or pot (AND lid!) are both safe use in a 450 degree oven. If it is not rated for those temperature, don’t use it! It isn’t safe.
- Kitchen temperature matters. How warm your kitchen is can affect how long this no knead sourdough bread needs to rise. If you have a chilly kitchen or are making it in the winter time, your dough may need closer to 24 hours or more of resting and rising time. During the winter months my house is very chilly and my bread can require 48 hours of rise time. if this is your issue, you can also add a ½ teaspoon of yeast to your dough to expedite the process. If you have a warm kitchen 12 hours may be plenty of time for you Dutch oven sourdough to rise.
- Use a smaller Dutch oven. I recommend using a smaller Dutch oven (4-5 quarts) over a larger Dutch oven, if you have the choice. The smaller Dutch oven helps support the loaf, giving you a taller round of sourdough bread. Larger will work just fine too, you may see your bread spread more
- Make two loaves. This Dutch oven bread isn’t hard, but it does take time! I always make two loaves, one to eat and one to freeze. My future-self thanks me!
- Tap the bottom of the loaf. To test if your bread is fully baked lift it carefully out of the pot (it’s hot!) and tap the bottom of the bread. If it is baked completely, you should hear a hollow sound when you tap.
Variations of this Recipe
Feel free to mix up the flavors of this no knead, Dutch oven sourdough bread. You can add cheese, garlic, herbs in with the flour before you let the mixture proof. If adding cheese, use a hard cheese that is safe to sit out at room temperature for long periods of time.
A sweet version of this bread would also be delicious. Try adding dried fruit, chocolate chips, or cinnamon chips into the dough.
How to Serve
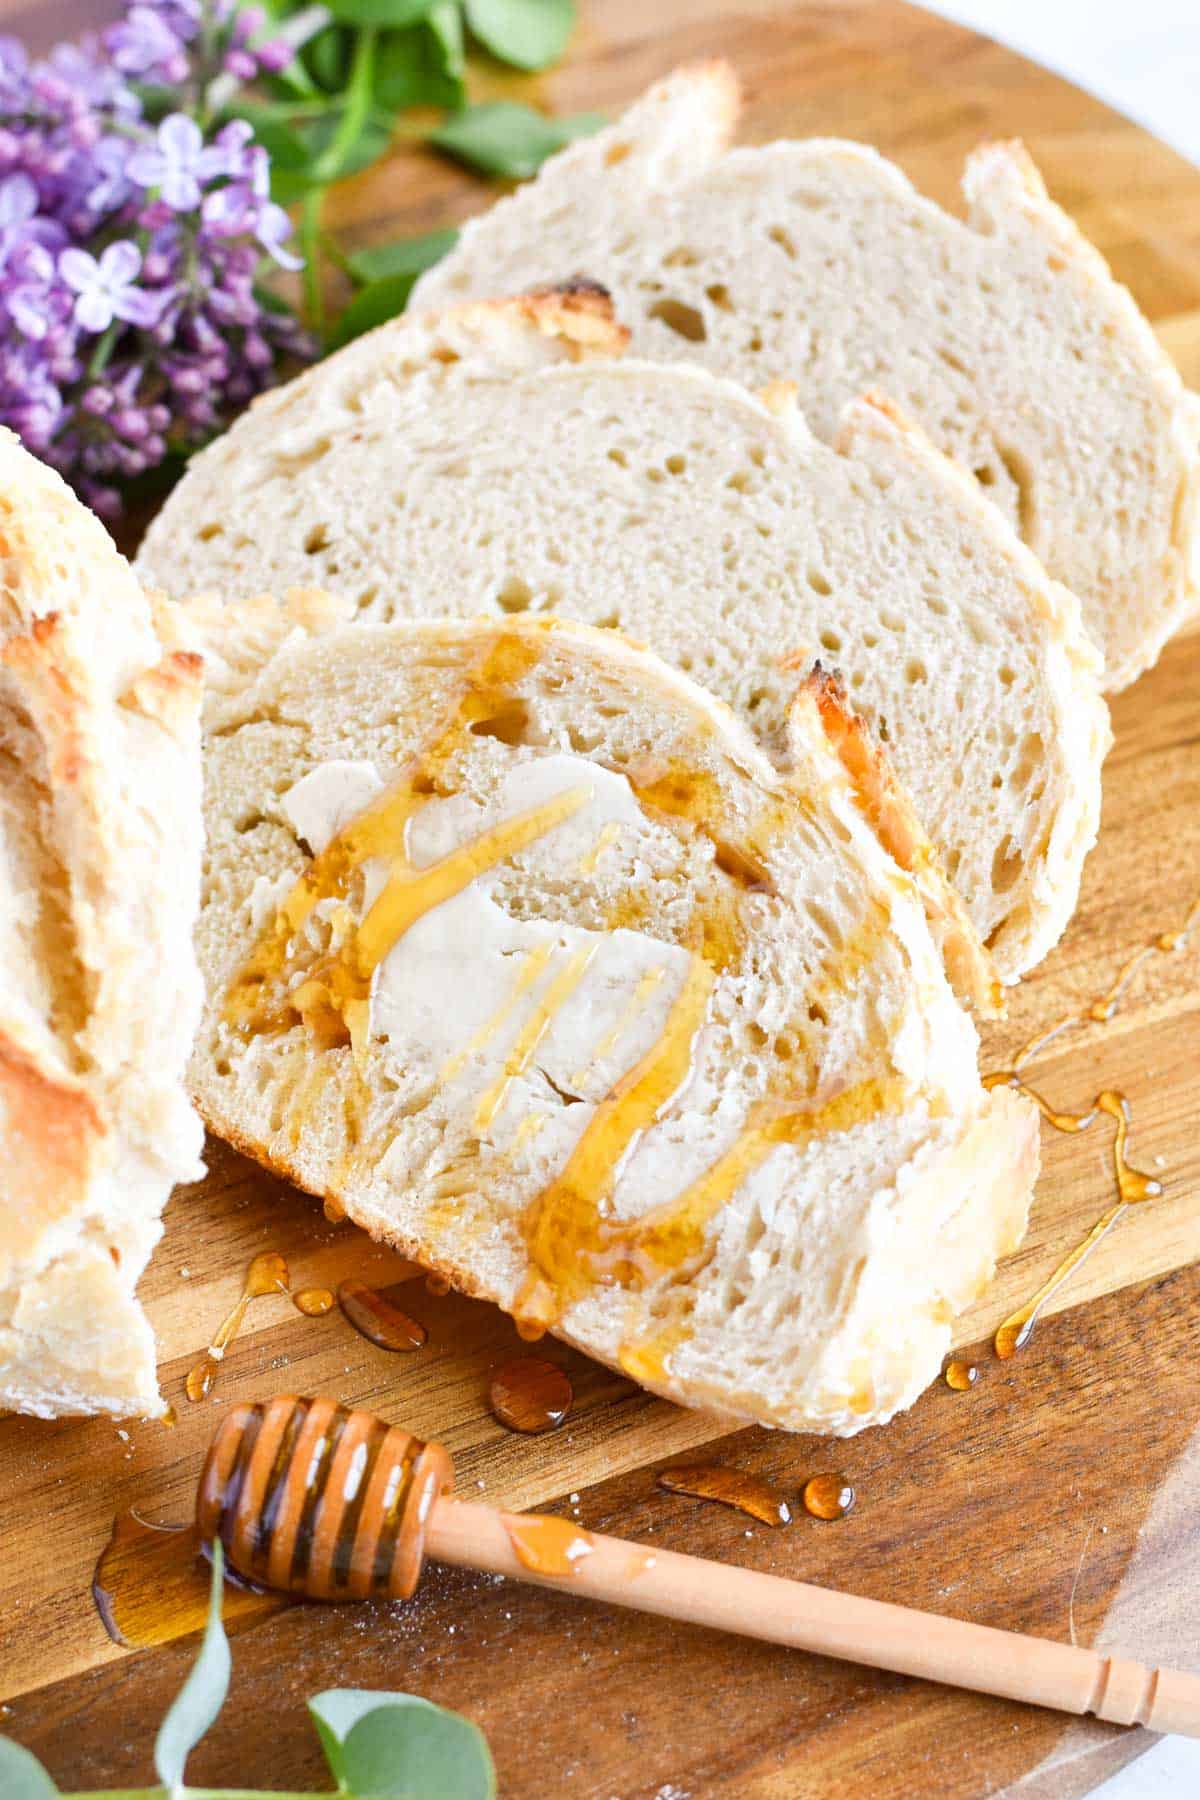
Sourdough bread can be used in so many ways! I love eating it with butter and honey, using it as the base for avocado toast or scrambled eggs. It’s perfect for sandwiches (try making it into a grilled cheese with a spread of our bleu cheese butter!) or French toast.
Storage Tips
Before storing, make sure your Dutch oven sourdough bread is completely cool. If the bread is warm it will create steam and leave you with soggy bread.
Room Temperature
To store at room temperature, wrap the bread in a large plastic or paper bag, in a fabric towel, or in foil. Remember this bread has no preservatives and can go stale quickly. It is best eaten the first 2-3 days.
Freezer
To freeze the bread, cool it completely, place it in a large bag and close removing as much air as possible. Then wrap the bread in a layer of aluminum foil. This will help keep the bread fresh and prevent freezer burn. Use within 3 months of freezing.
To thaw, place the frozen bread on the counter and let come to room temperature before slicing into.
P.S. If you tried this recipe or any other In Fine Taste recipe take a second and rate it below! We love hearing what you think. Let’s stay in touch! Sign up for our newsletter or follow us on Facebook, Instagram, TikTok, Youtube or Pinterest for more recipe ideas.
Dutch Oven Sourdough Bread
Ingredients
- 2 ¾ cups flour (357 grams)
- ¼ cup sourdough starter (66 grams)
- 1 teaspoon salt (7 grams)
- 1 cup warm water (224 grams)
- ½ teaspoon yeast (optional, see notes)
Instructions
- Make sure your sourdough starter has been fed recently and is active!
- Stir flour, yeast (if adding), and salt together. Add in starter and water and stir together until you have a sticky dough. Fold the dough around a few times to make sure all the ingredients are completely incorporated. Tightly cover with plastic wrap and let sit at room temperature for 18-24 hours.
- Preheat oven to 450 degrees Fahrenheit. Place your Dutch oven in the oven as it heats up. Let it sit in the oven for at least 30 minutes.
- Place a large piece of parchment paper on your counter, large enough to fit in the bottom and up the sides of your Dutch oven. Dust it with flour. Carefully remove the sourdough bread dough from the bowl and tip it onto your floured parchment paper.
- Dust the dough with flour and shape into a ball. Cover dough ball with a plastic wrap or a towel and let it rest for 20-30 minutes.
- Take a sharp knife and score the top of the bread to help release steam. Lightly dampen your hands and pat the top of your bread to help it brown.
- Remove the Dutch oven from the oven and remove the lid carefully, it’s very hot! Try to gently shake off any excess flour that is still on your parchment paper. Pick up the entire piece of parchment paper with your dough ball in it and place it in the Dutch oven. Replace the lid and place the entire thing in the oven for 30 minutes. Remove the lid and bake for an additional 10 minutes. Watch it towards the end so it doesn’t get too dark.
- Remove the Dutch oven from the oven. Carefully pick up the edges of the parchment paper and lift the bread out of the pot. Place on a cooling rack and let it cool for at least 30 minutes before slicing into.
Video
Notes
Nutrition
View our web story for this post.



Leave a Reply