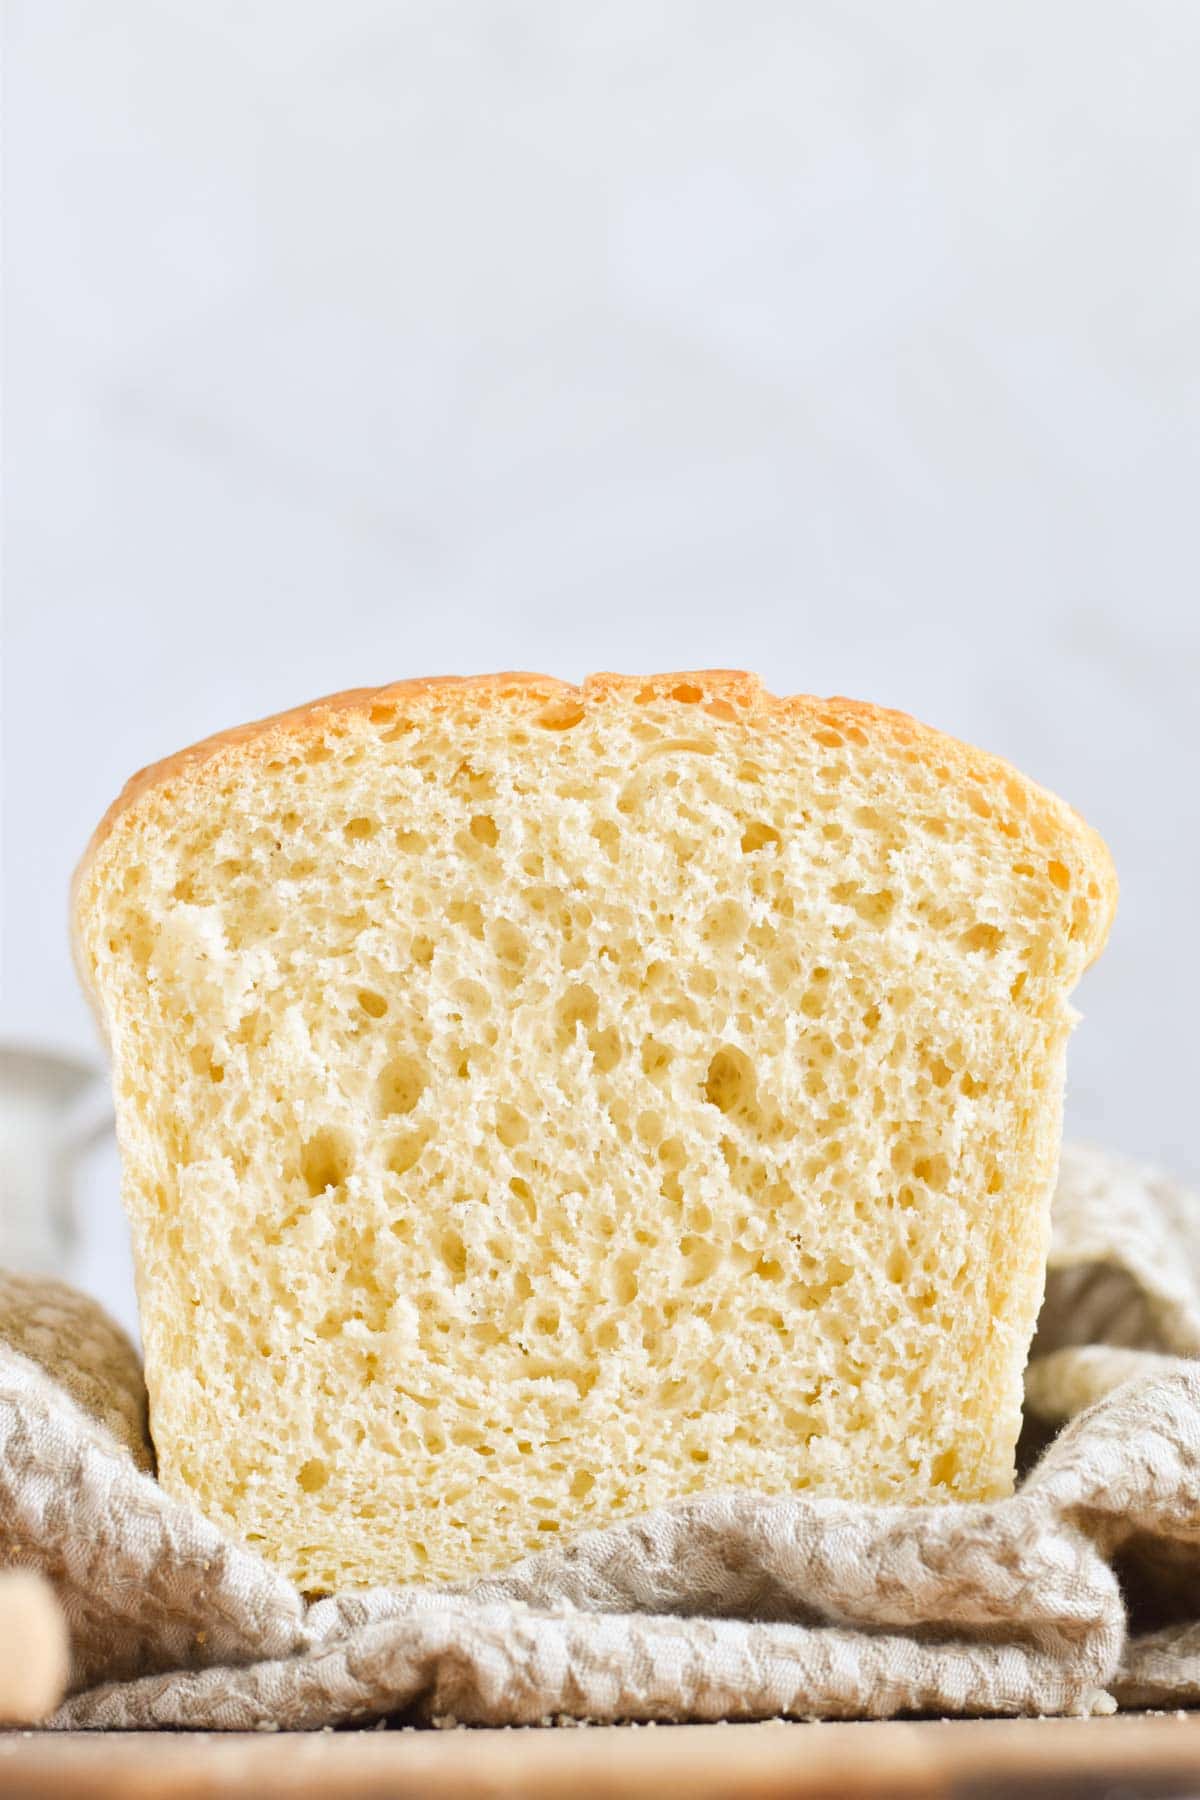
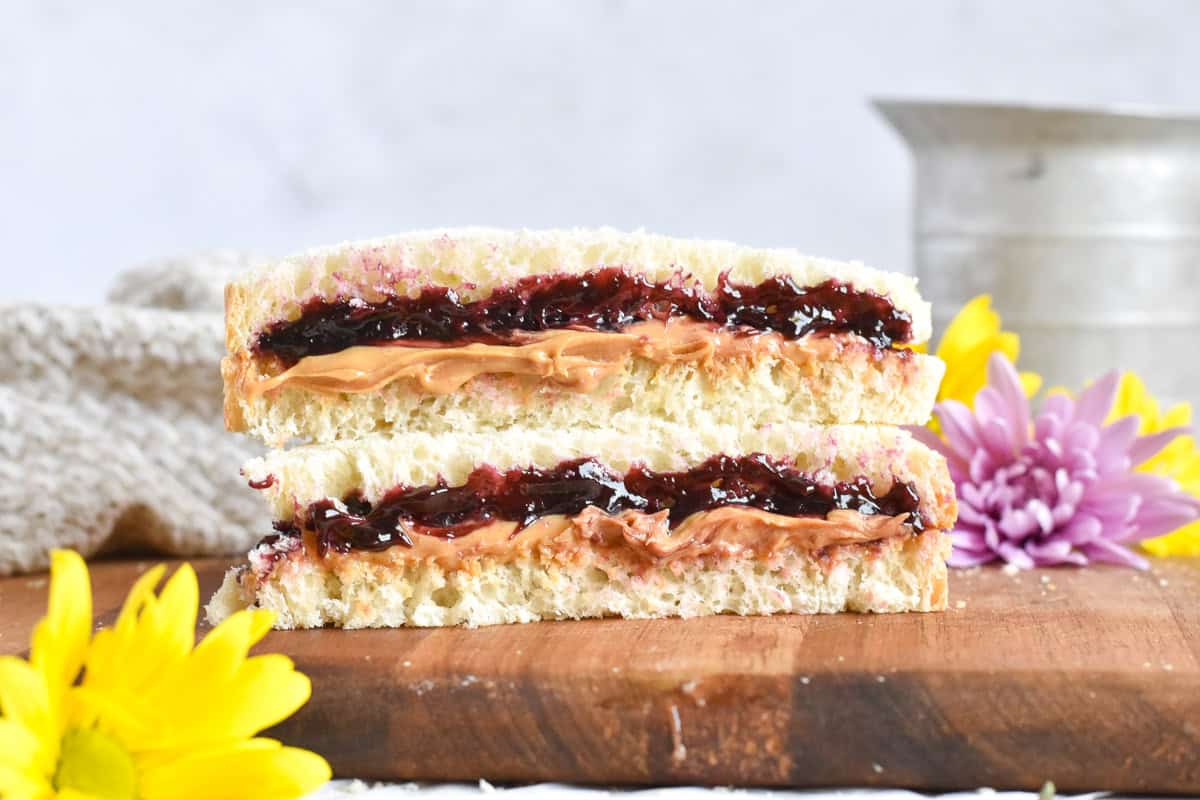
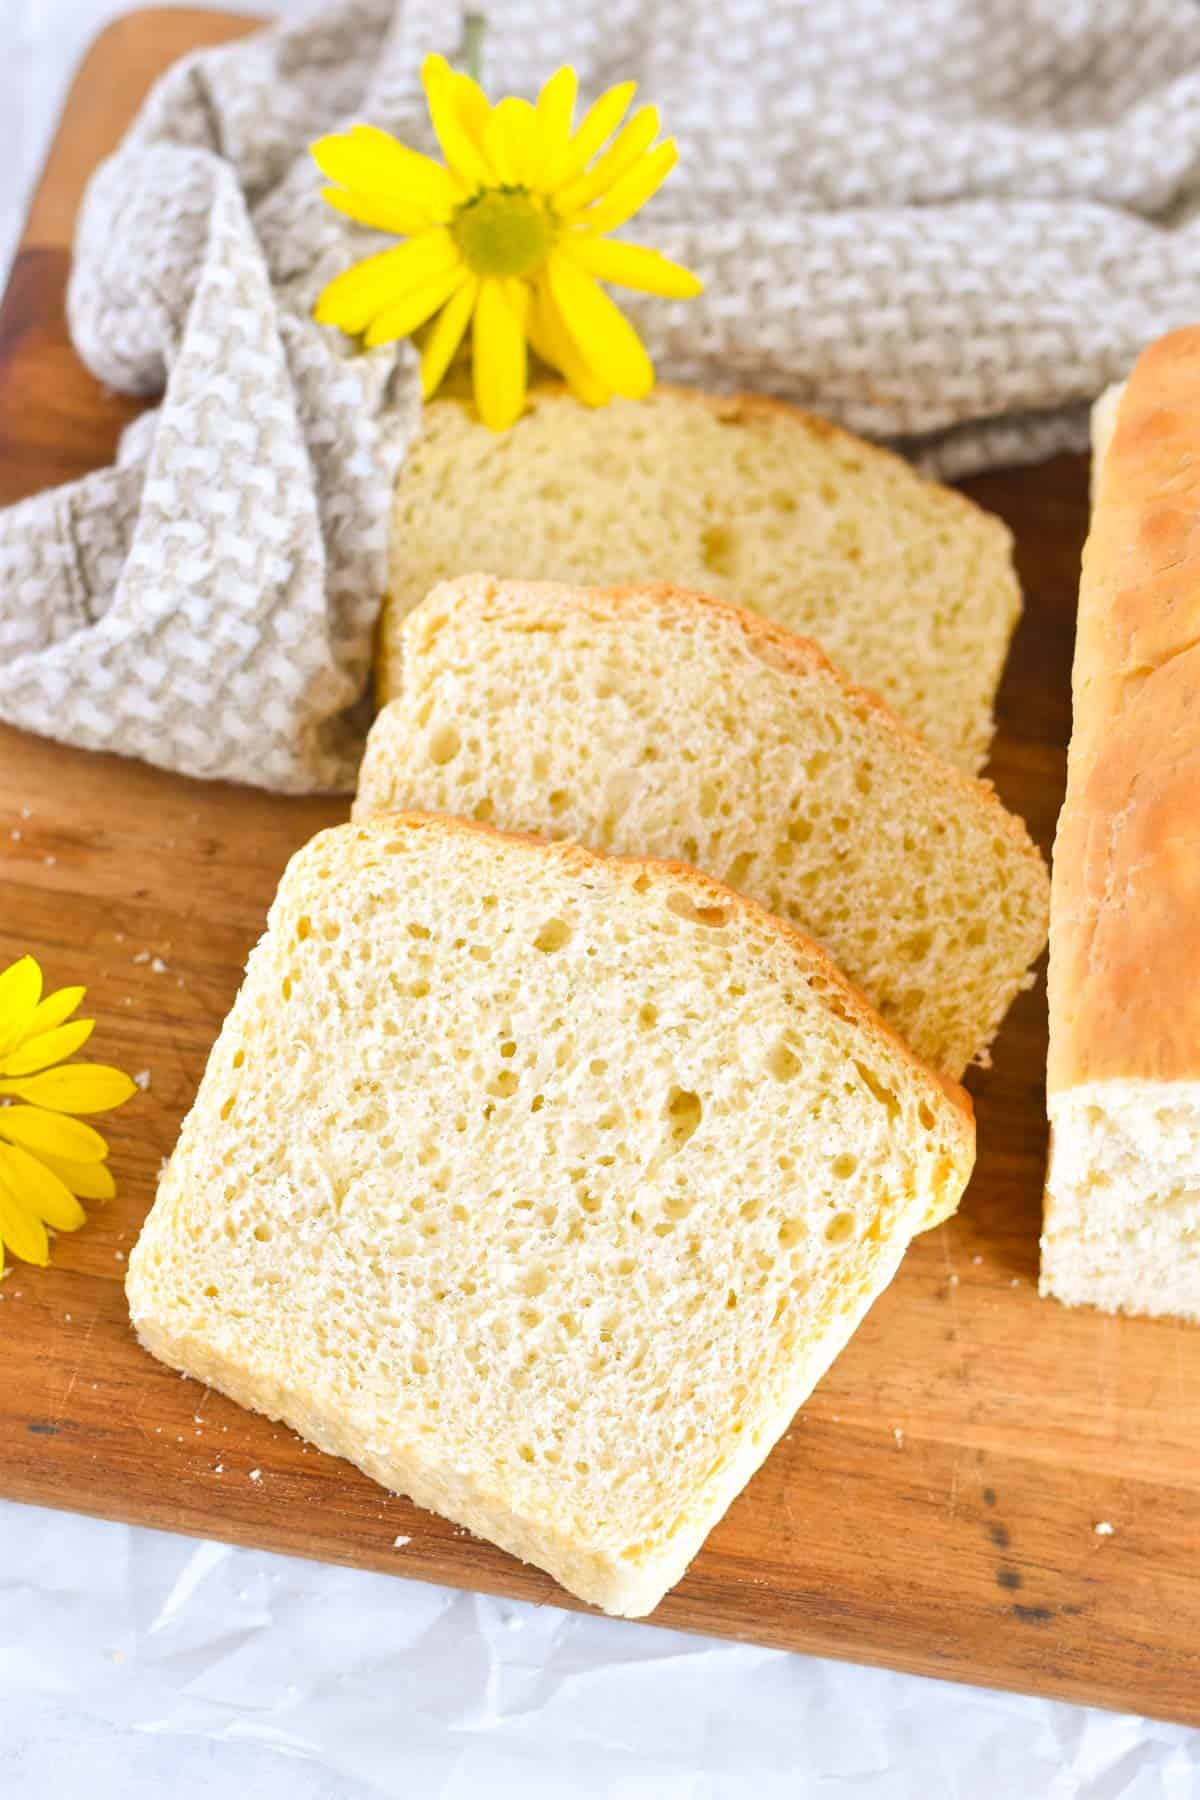
This Sourdough Discard Sandwich Bread is soft, fluffy, and light with a delicate, slightly tangy flavor from the sourdough discard. The texture is airy with a tender crumb and a soft crust that's perfect for sandwiches. It's quick and easy to make, with minimal hands on time, making it an ideal way to use up sourdough discard without waste. The result is a delicious, homemade loaf that's both light and satisfying.
Jump to:
Why You'll Love this Recipe
This sourdough discard sandwich bread is the perfect recipe for a soft, fluffy loaf that's quick, easy, and wonderfully light. The beauty of this bread is that it takes advantage of your sourdough discard, meaning no waste-just simple ingredients that come together to create a delightful sandwich loaf with a tender, airy texture.
The sourdough discard bread requires very little hands on time, rises quickly, and comes together in no time at all. It's perfect for beginner bakers.
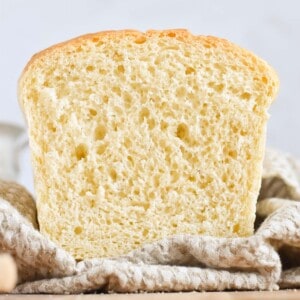
The crust is soft, even the pickiest eaters will love it! I love that the bread stays soft for days without going stale. The sourdough flavor is mild, but still has that homemade taste.
We make this bread almost weekly! If sandwiches aren't your thing, it makes a killer French toast!
If you're looking for a quick and easy way to use up sourdough discard with minimal effort and create a bread that's light, fluffy, and perfect for sandwiches, this recipe is a must-try! If you want another great sourdough discard recipe, try our sourdough discard cornbread!
If you're new to sourdough, try our homemade sourdough starter. We cover the basics and the most common questions and problems with sourdough starter.
Ingredient Notes
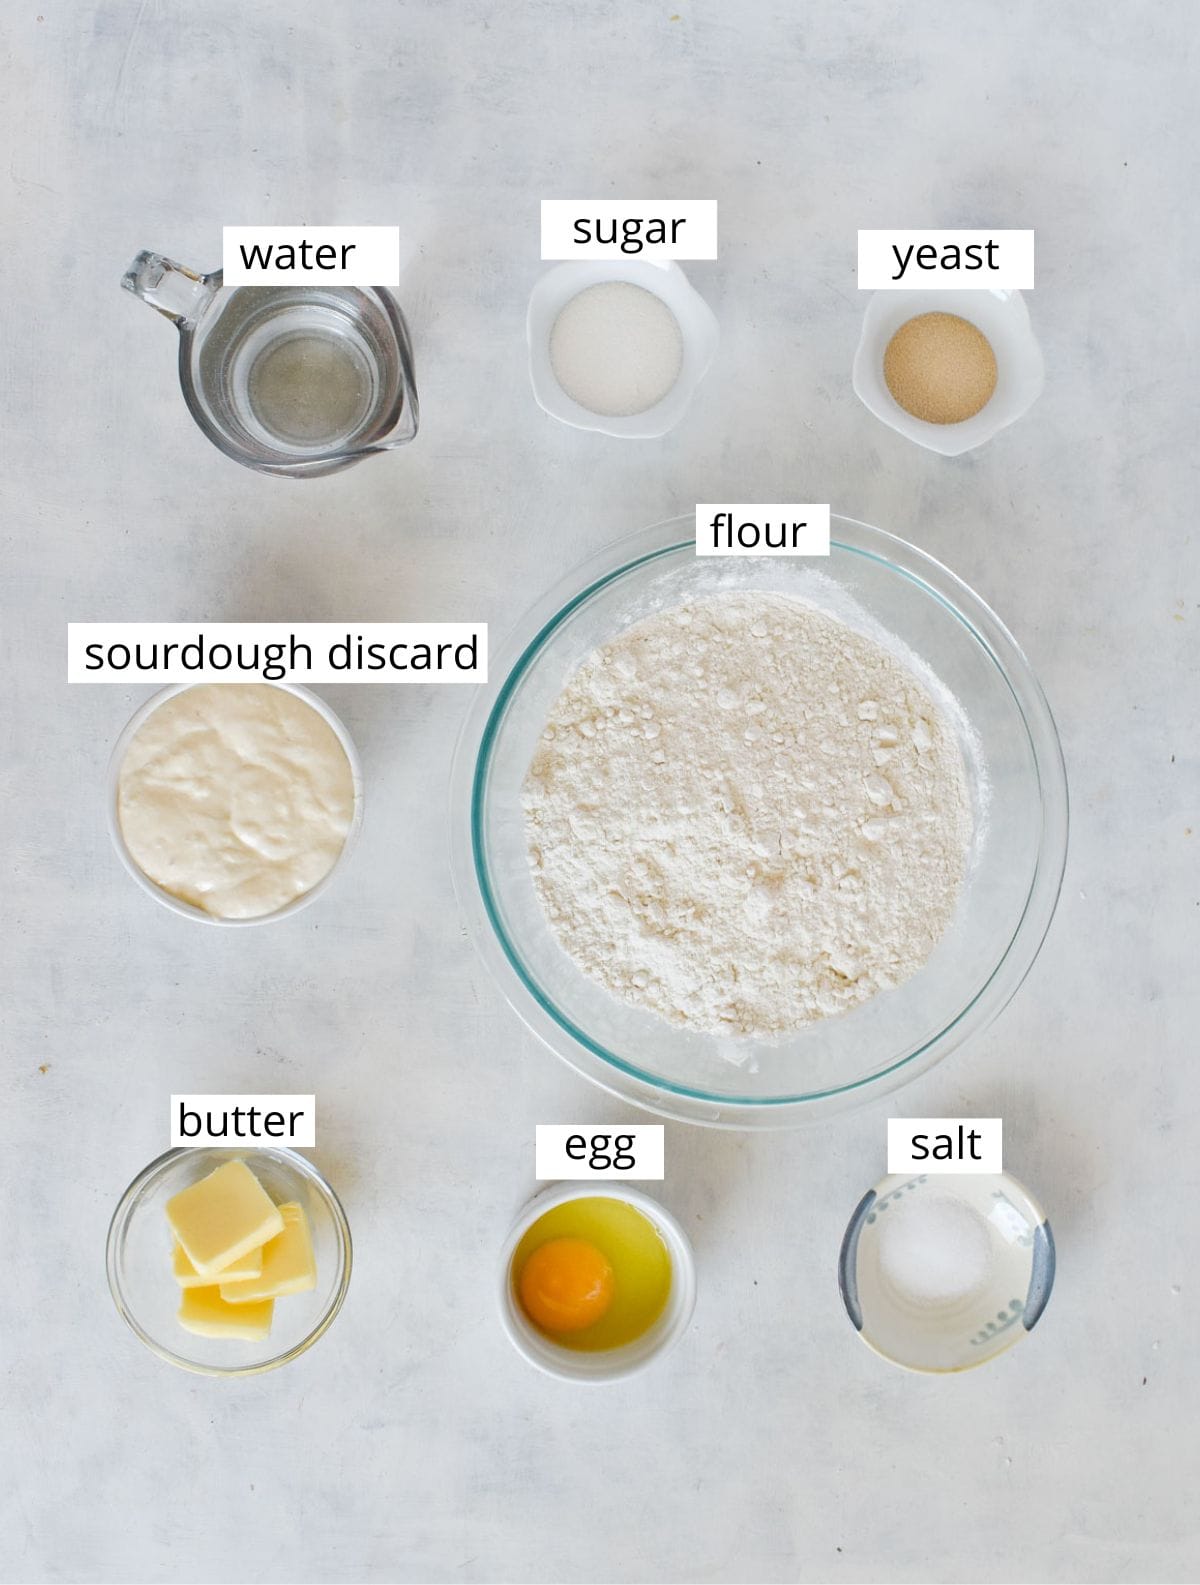
- Water. Use warm water. Make sure the water is not too hot or you may inadvertently kill the yeast. The water temperature should be about 100 degrees.
- Sugar. The recipe calls for white, granulated sugar. However, you can also substitute honey, maple syrup, or brown sugar.
- Yeast. Use dry, active yeast.
- Butter. Use softened butter, you can microwave it a few seconds if necessary. The softer the butter the easier it will combine with the dough.
- Flour. The recipe calls for all-purpose flour. You can also use bread flour, kamut flour, or wheat flour-some may require some adjustments. See our FAQs section on using different flours.
- Salt. Salt adds flavor, but also helps create a bread with good structure.
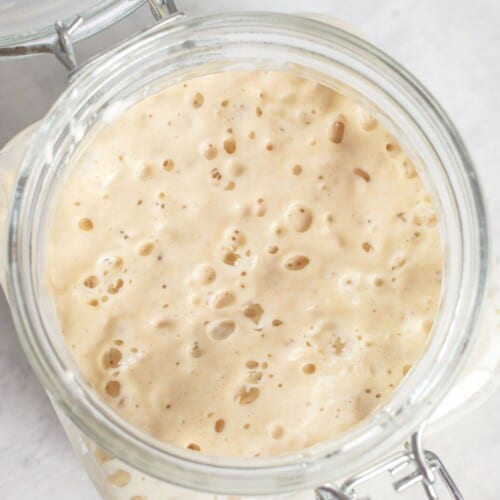
- Sourdough Discard. This recipe is designed to use a sourdough discard that is fed with a 1:1 ratio (1 part flour to 1 part water). The ratio of flour and water may be off if you use a discard that uses a different feeding ratio.
- Egg. An egg enriches the texture of the sandwich bread, making it soft, tender, and rich.
How to Make this Recipe
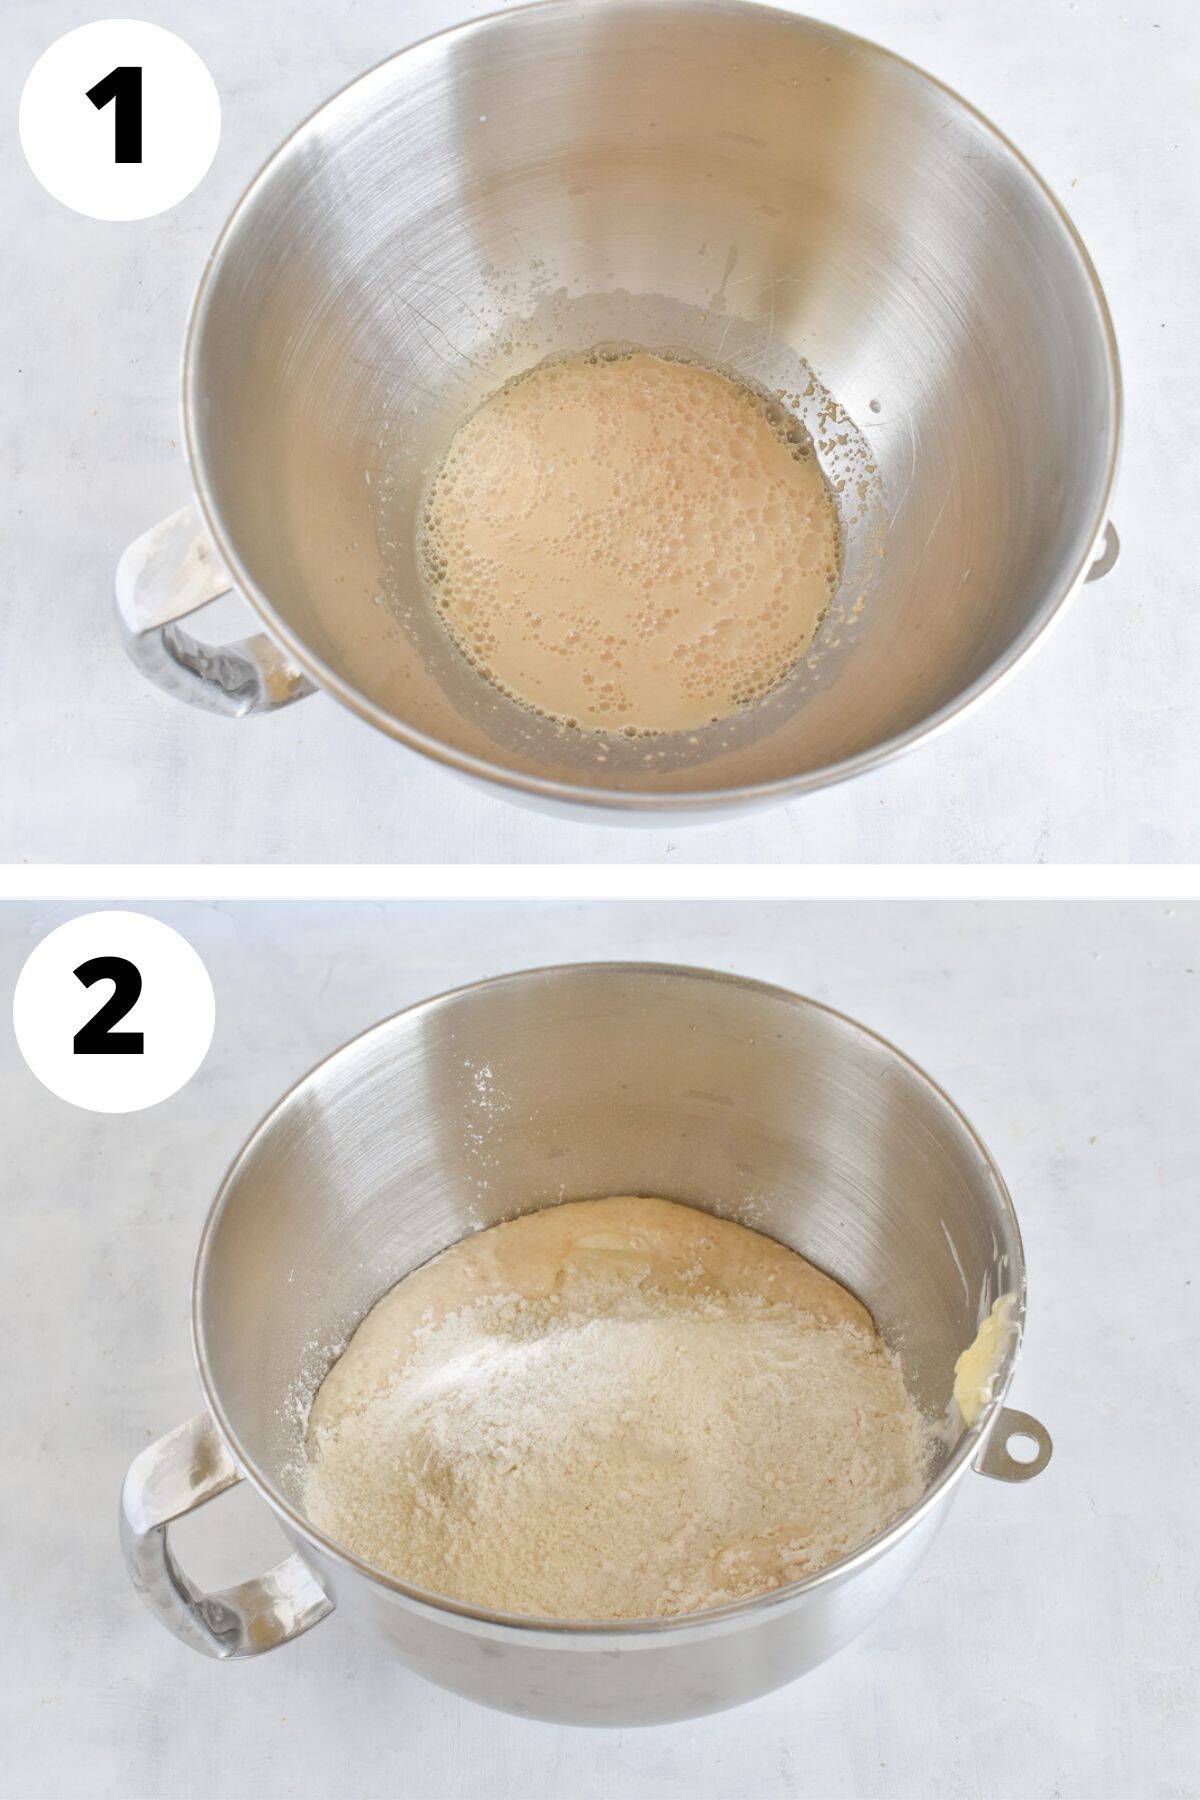
- Bloom the yeast. In a large mixing bowl or stand mixer, combine warm water, yeast, and sugar. Stir, then let it sit for 5 minutes until bubbly. Make sure the water is not too hot, or it may kill the yeast.
- Add in ingredients. Once bubbly, add butter, flour, salt, discard, and eggs. If using a stand mixer, mix on low with a dough hook until a shaggy dough forms. If kneading by hand, use a wooden spoon or your hands to combine until a rough dough forms. Make sure the butter is very soft, it will make easier to incorporate into the dough.
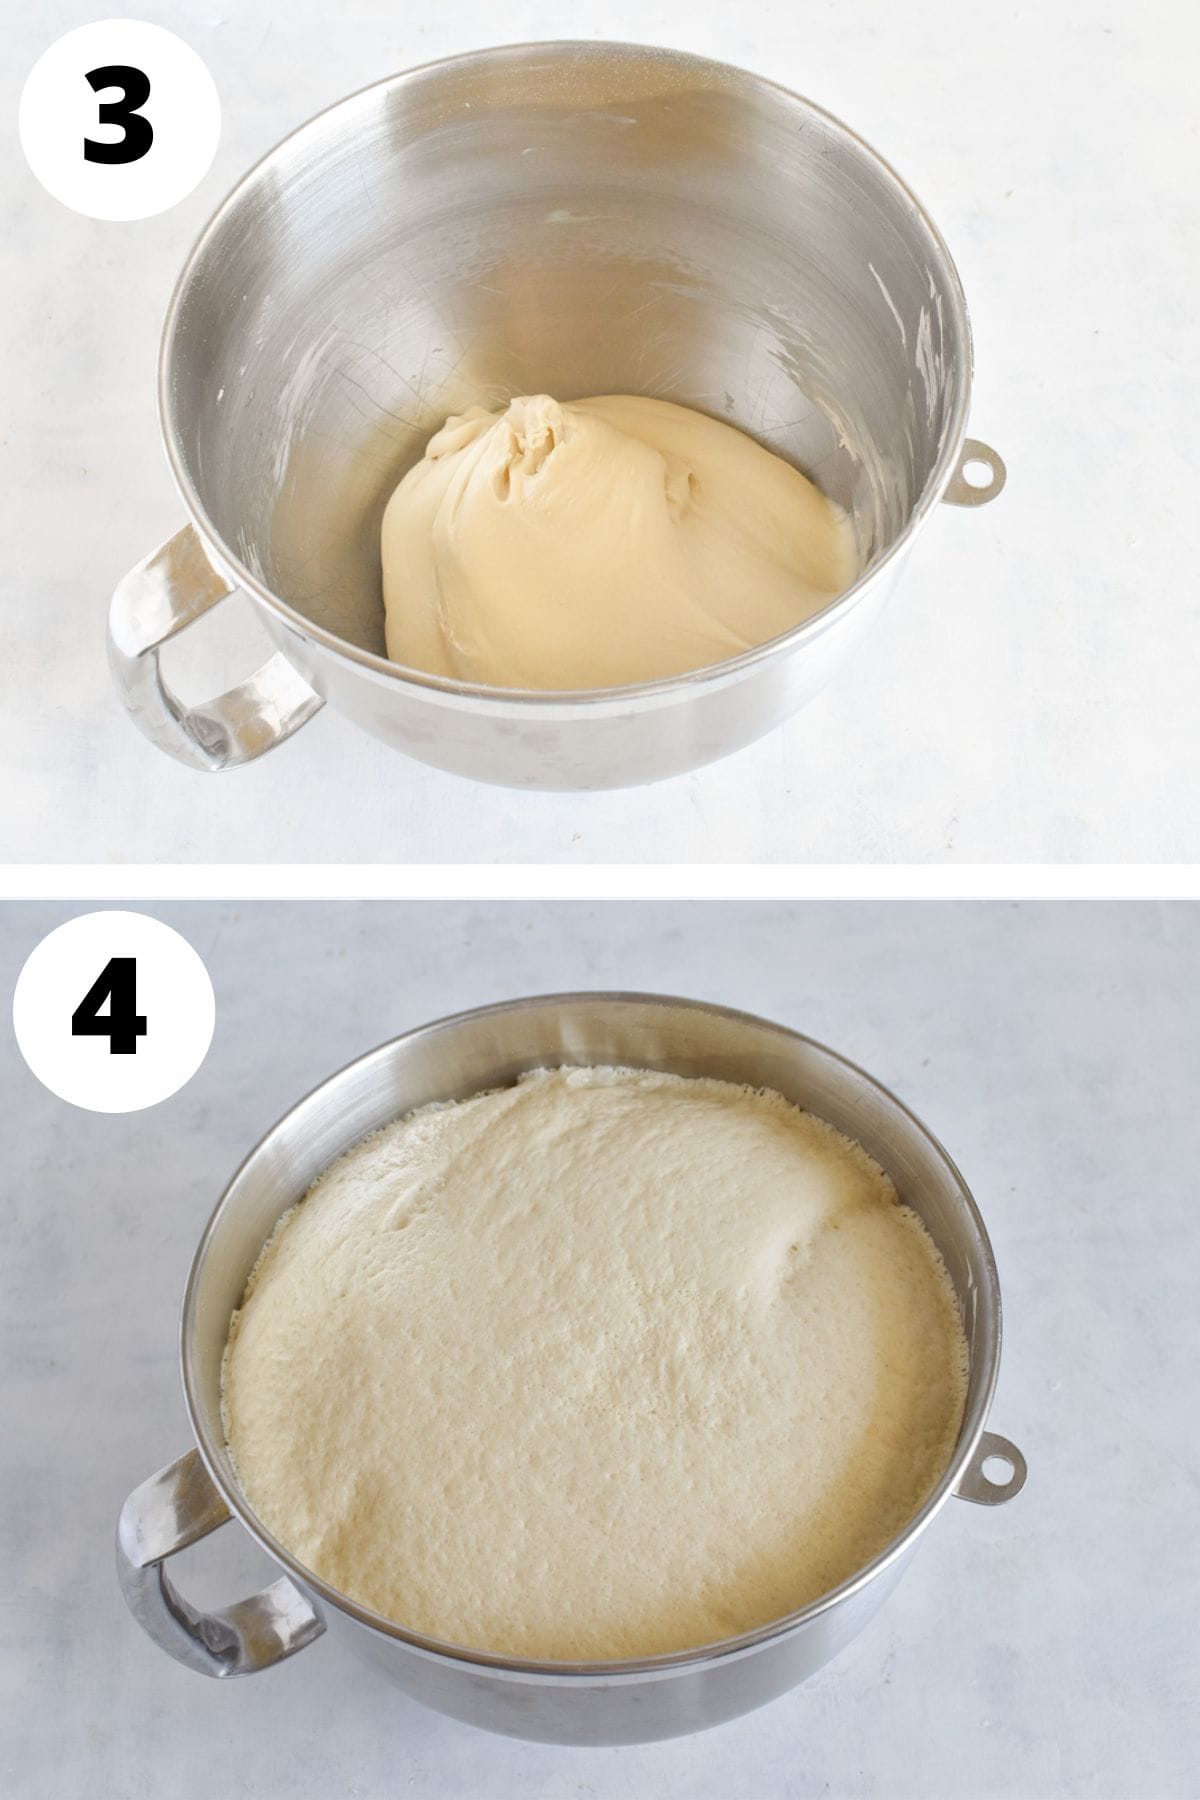
- Knead. Set the stand mixer to medium-high and knead the dough until smooth and elastic, about 10 minutes. Alternatively, knead by hand. Pinch off a piece and check for the windowpane test (see section below for explanation and visual aid).
- Let Rise. Cover the bowl with a towel or plastic wrap and place in a warm spot to rise for 1-2 hours, or until doubled in size. Tip: Preheat your oven for a few minutes, turn it off, and place the dough inside to rise.
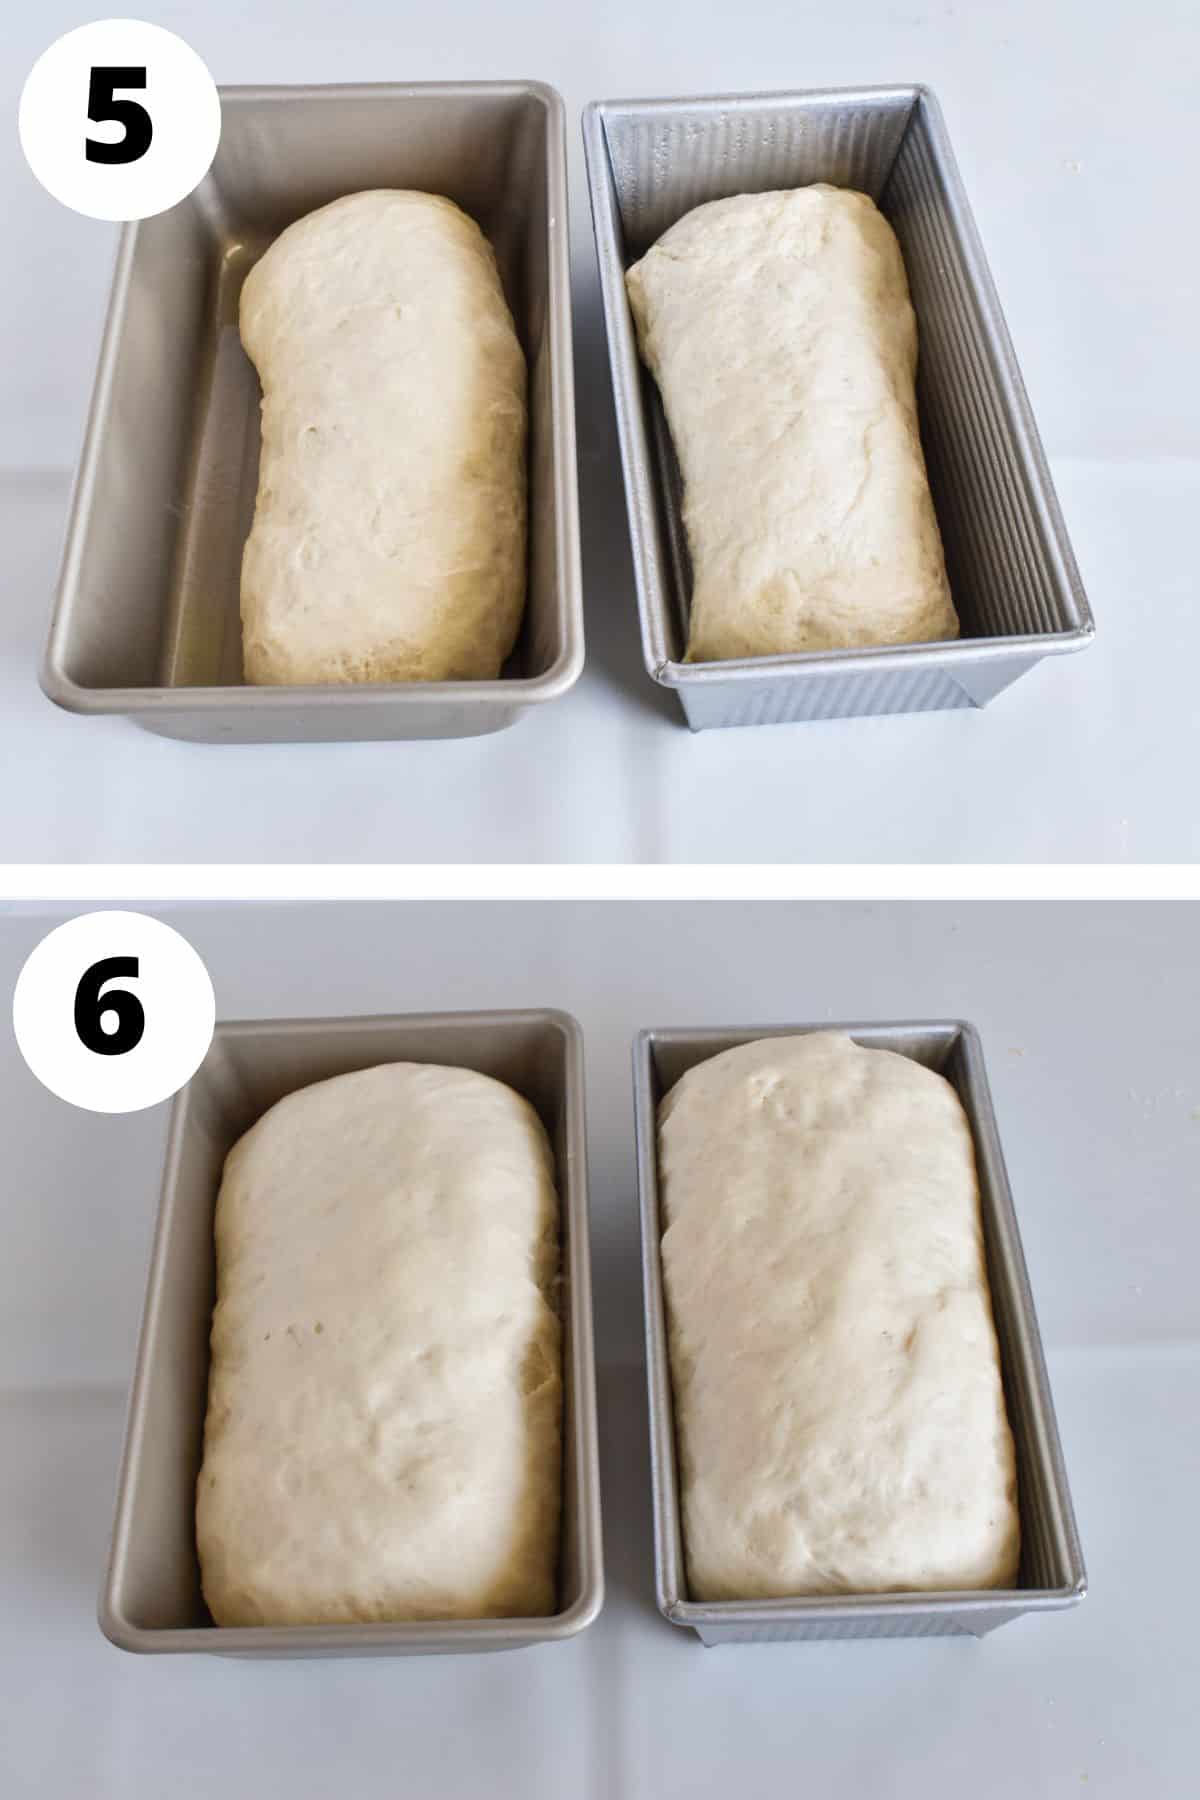
- Shape the Dough. Once doubled, grease two loaf pans and set aside. Divide the dough into two equal portions. Press each into a rectangle, roll it up, and pinch the ends to seal.
- Second Rise. Place the shaped loaves in the greased pans, seam side down, and cover loosely with a towel or plastic wrap. Let rise for 30 minutes. Preheat the oven to 375°F during this time.
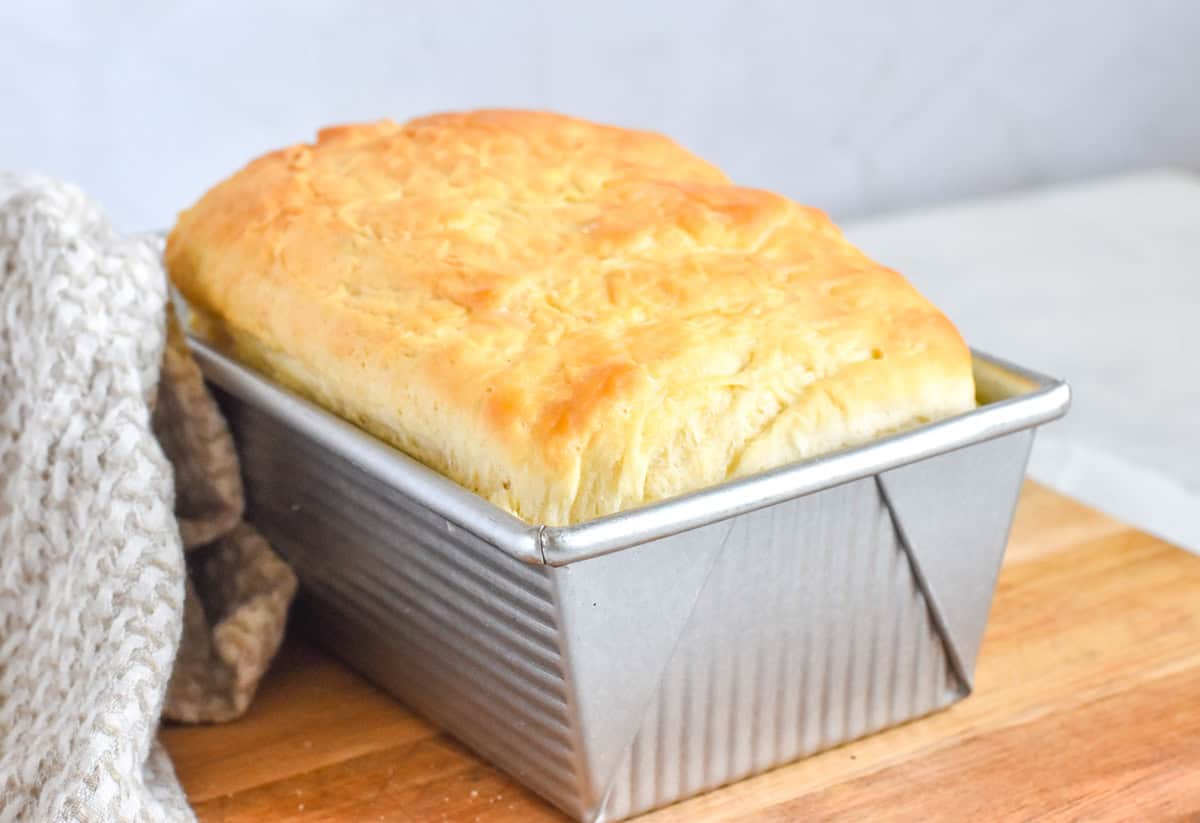
- Bake. Bake both sourdough discard sandwich loaves for 20-25 minutes, or until golden brown on top. Remove from pans and let cool completely before slicing.
The Window Pane Test
The windowpane test is a widely trusted method for checking if the dough has been kneaded sufficiently. What you're truly assessing is the elasticity and gluten formation within your bread dough.
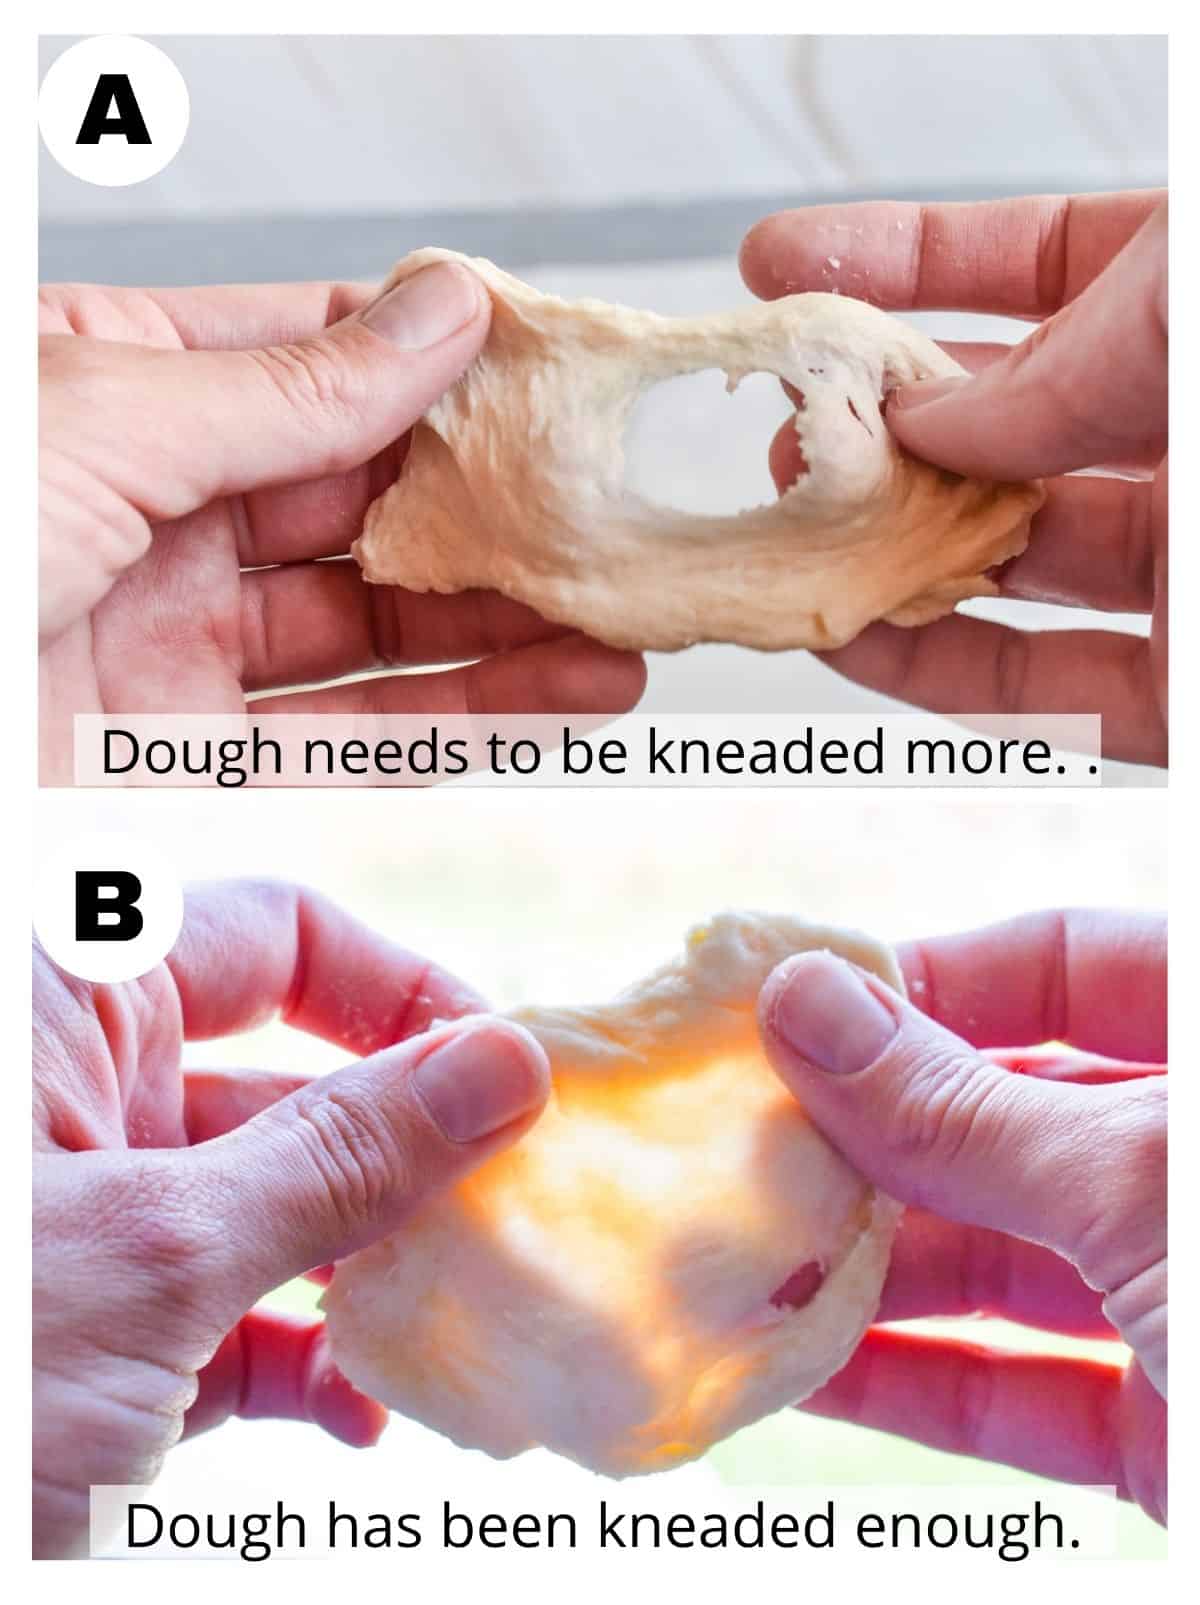
TO TEST: Pinch off a small piece of dough and gently stretch it. The goal is to be able to stretch the dough thin enough that the light from a window is visible, without the dough breaking. Hence, the name-the windowpane test.
If your dough passes the windowpane test then your dough has developed enough gluten to support the expansion of bubbles and gases and maintain the structure of the dough as it bakes.
However, if the dough breaks easily when stretched, that is your sign that the dough needs to be kneaded for longer.
Frequently Asked Questions (FAQs)
Yes! Sourdough discard contains probiotics that promote gut health. While the discard may not be as powerful as active sourdough starter, discard is still considered beneficial and can improve your overall digestion.
Yes, you can use active sourdough starter in this recipe in place of the discard. Make sure your starter is active, just replace the discard with an equal amount of sourdough starter, then do not add the yeast.
With sourdough starter, the bread will likely take longer to rise and double in size. So plan accordingly!
Sourdough discard is unfed sourdough starter. Every time you feed your starter it doubles In size. To prevent your starter from becoming unmanageably large, you discard a portion or your starter before feeding it. This is where the term "discard" comes from.
Yes, you can use different kinds of flour in this sourdough discard sandwich bread recipe. The recipe calls for all-purpose (white) flour. However, you can also use bread flour, kamut flour, and wheat flour.
The bread flour you can swap straight across, with no other alterations to the recipe.
Kamut flour is one of my favorite flours to use here! It's a whole grain, but has a buttery, rich taste. However, kamut flour is a lot denser than all-purpose flour and requires more hydration than regular flour.
So, if you use kamut flour replace each 1 cup of flour with ¾ cups of kamut flour. You should also expect that the loaves will not be quite smaller than what you see pictured. If using a scale, replace the all-purpose flour with 420 grams of kamut flour.
Wheat flour can also be used in this recipe. However, for best results I recommend using half wheat flour and half all-purpose flour.
You do not need a stand mixer for this recipe! I love using a stand mixer because it does all the work for you. However, you can absolutely knead this dough by hand. It may take you a little longer to knead it, so just make sure the dough passes the window pane test before letting it rise.
The egg adds a little extra richness to this sourdough discard sandwich bread recipe. However, the egg can be omitted from the recipe if needed without making any other alterations to the recipe.
Expert Tips
- Use an electric knife. I highly recommend using an electric bread knife to slice your bread! It is gentle and does not squish the bread while being sliced. I typically slice my bread all at once, for easy use throughout the week. If you don't have an electric knife, try turning the bread loaf onto it's side to cut-it makes it easier!
- Try using a Pullman Bread Tin. If you want your bread to be square-shaped, like it often is at the grocery store, try using a pullman bread tin! This is not necessary, you can use a regular open bread pan-I do.
- Let it rise somewhere warm. To help your bread rise, make sure you place it somewhere warm. I like to turn my oven on to the lowest temperature and let it heat up for a few minutes before turning it off. Remember, you don't want the oven to be hot, just cozy. This is a great place to place your covered dough to rise.
- Let it cool completely. Before you slice into the loaf, make sure it is completely cool. I know it is hard to wait for the sourdough sandwich bread to cool before digging in, but if you cut the bread open while still warm, the steam will escape. Resulting in a bread that dries out quicker and does not stay as fresh for long.
How to Store this Recipe
Store the bread in an airtight container, like a bread bag for up to a week. You can also freeze the loaf of bread (whole or sliced) for up to 3 months. Where I live it is fairly dry and my bread often lasts for over a week. If you live in a place with high humidity, your loaf may mold more quickly.
Before slicing the sourdough discard sandwich bread, make sure the loaf is completely cool. If you cut into the bread while it's warm, the steam will escape and your bread will dry out quicker. Make sure your bread is cool before freezing, any heat can cause the bag to steam up and form ice crystals in the freezer, which will cause freezer burn faster.

P.S. If you tried this recipe or any other In Fine Taste recipe take a second and rate it below! We love hearing what you think. Let's stay in touch! Sign up for our newsletter or follow us on Facebook, Instagram, TikTok, Youtube or Pinterest for more recipe ideas.
More Recipes You'll Love


Sourdough Discard Sandwich Bread
Ingredients
- 1 cup warm water (235 grams)
- 2 tablespoons sugar (25 grams)
- 1 tablespoon active dry yeast (11 grams)
- ¼ cup butter softened (56 grams)
- 4 ½ cups all-purpose flour spooned and leveled (560 grams)
- 1 ½ teaspoons salt (8 grams)
- 1 cup sourdough discard (280 grams)
- 1 large egg
Instructions
- Add the warm water, yeast, and sugar to a large mixing bowl or stand mixer-stir together and let sit for 5 minutes until bubbly.
- Once bubbly, add in the remaining ingredients-butter, flour, salt, discard, and eggs. If using a stand mixer use a dough hook mix together on low until a shaggy dough starts to form. If kneading by hand, use a wooden spoon or your hands to mix together until a rough dough forms.
- Turn your stand mixer on medium-high, and knead the dough until a smooth, elastic ball forms. It should take about 10 minutes. Or knead by hand. Pinch off a piece of dough and check that it passes the window pane test (see notes).
- Cover the bowl with a towel or plastic wrap and place in a warm place to rise for 1-2 hours, or until doubled in size. I like to turn my oven on for a few minutes, then turn it off and place the dough inside the oven to rise.
- Once doubled, grease two loaf pan and set aside. Remove the dough from the bowl and divide it into two equal pieces. Use your hands to press each piece of dough into a rectangle, roll it up and pinch the ends of the loaf closed.
- Place each rolled up dough into a loaf pan, with the seam side down, and cover loosely with a towel. Let the dough rise again for about 30 minutes. While the dough is rising, preheat the oven to 375 degrees.
- Bake both loaves at the same time for 20-25 minutes. The loaf should be a golden brown color on top when finished. Wait about 5 minutes before removing the loaves from their pans. Let cool completely before slicing into.


Diane says
What do you think about this recipe in a bread machine? Would love to try it!
In Fine Taste says
Hi Diane, I personally don't own a bread machine, so I'm not super familiar with how they work. If you try it out will you let me know how it goes?? I'd be so curious to hear!
- Alyssa
Maria says
thank you for the recipe. we loveeeeeee it!
Jane T says
We loved this bread! Will definitely be making regularly!