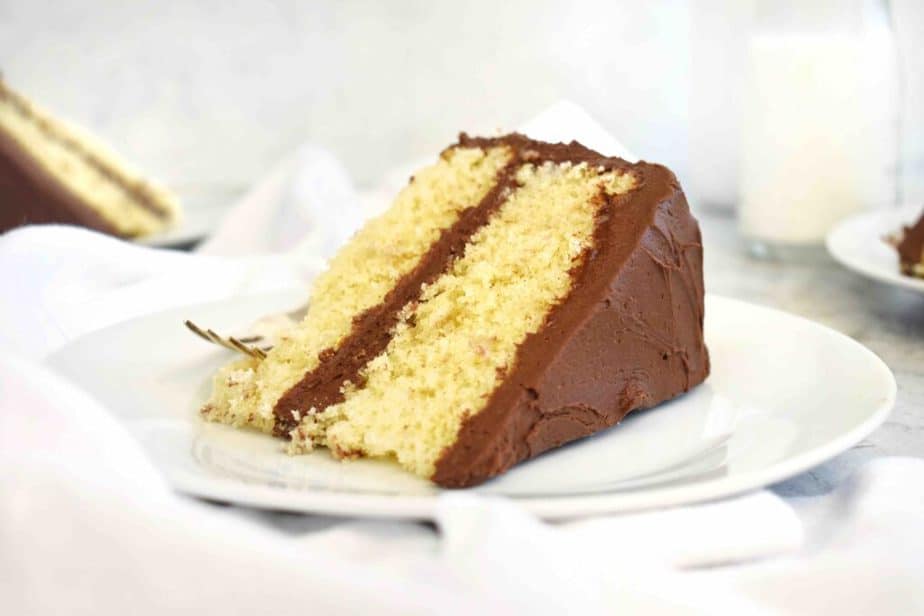
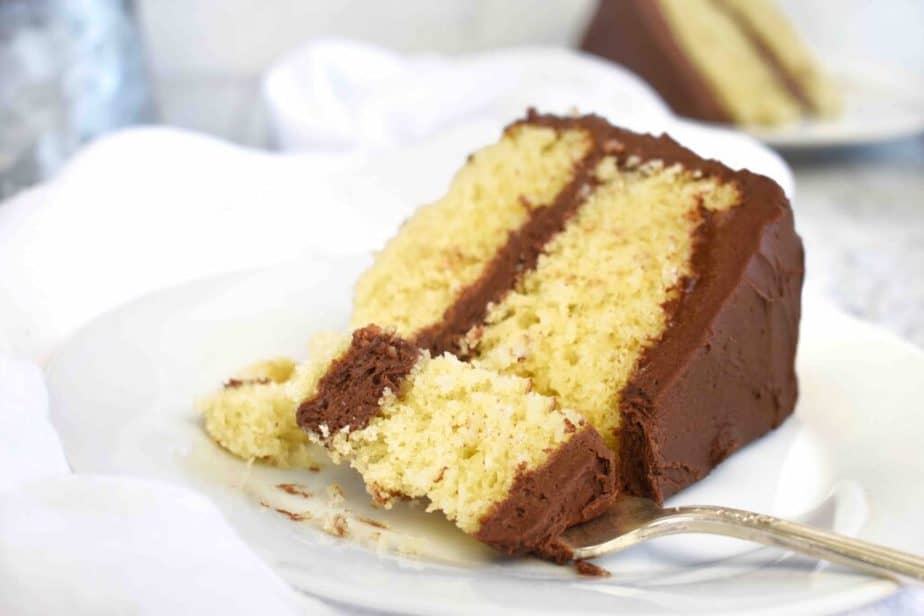
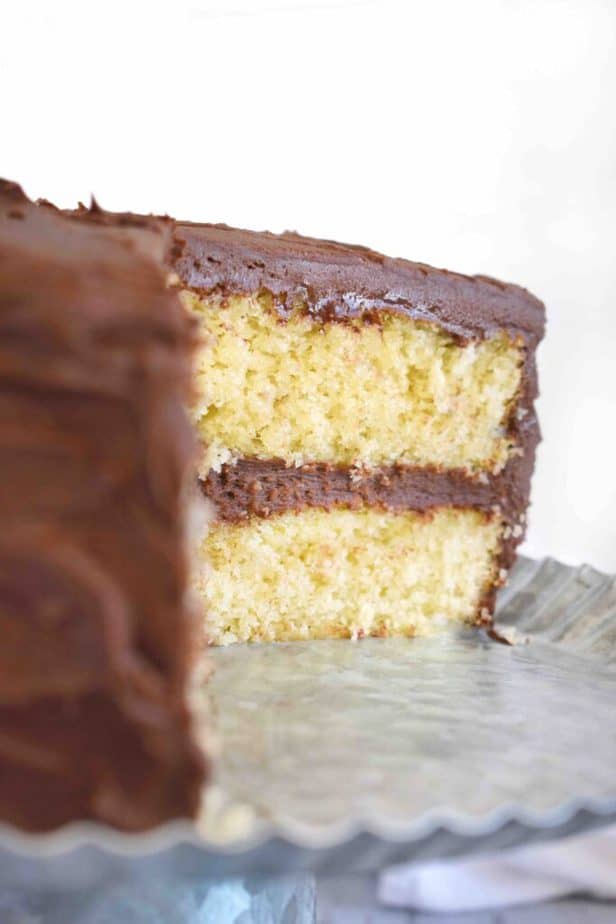
A moist and buttery yellow cake with rich chocolate frosting is a classic combination! It’s the staple of birthday parties, that and balloons. Getting a fluffy and super buttery (and not eggy) yellow cake can be a little tricky, but this yellow cake with chocolate frosting is PERFECT!
Yellow Cake vs. White Cake vs. Vanilla Cake
Okay, so you’re looking for a cake and you see, yellow cake, vanilla cake, butter cake, white cake…. What?! It’s overwhelming! But it’s actually not so hard. Now, this isn’t an exact science to break it down, so bear with me.
Yellow Cake vs. White Cake.
This one is pretty simple. Yellow cake has egg yolks in the mixture and white cake uses only egg whites, this results in the difference in color between the two cakes.
Vanilla Cake?
Well, that’s a little more of a grey area. Typically your yellow cake, butter cakes, and white cakes are all going to have vanilla in the batter, so technically they could all be vanilla cake. But how that vanilla cake is made (i.e. whole eggs or egg whites) can really change the flavor of the cake.
What I love about this Yellow Cake with Chocolate Frosting
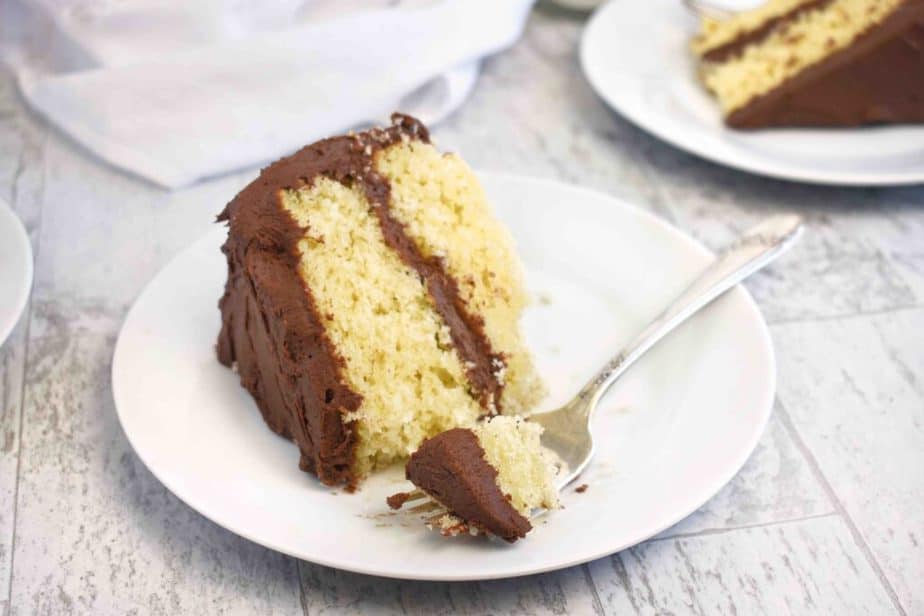
Did I already mention how buttery and rich this cake is? Because it is insanely good. The yellow cake itself has lotssss of butter (hellooo flavor!), buttermilk which makes this cake so moist and tender, and egg yolks and egg whites!
The egg yolks make this cake rich and gives it a custardy flavor and also makes this cake slightly denser (but like in a good way, you know?) than your average bakery white cake. We then whip the egg whites and fold them into the batter, to make it light and fluffy!
Why did my cake sink in the middle?
We’ve all been there. You work so hard to make the perfect cake only to have your cake SINK in the middle. UGH. So the most common pitfalls to try and avoid having your cake sink in the middle: Your egg whites weren’t whipped correctly or folded in properly; your batter was over mixed; your cake is under baked. So let’s dive into these issues.
1) Your Egg Whites Weren't Whipped/Folded in Properly
Whipping Egg Whites
Whipping egg whites is pretty easy, but it’s easy to make a mistake. So to start, make sure your eggs are room temperature, room temperature egg whites will whip up better than cold egg whites. Then, make sure there is absolutely no trace of yolk, at all. Even the slightest amount of fat in your egg whites will cause them not to whip up properly.
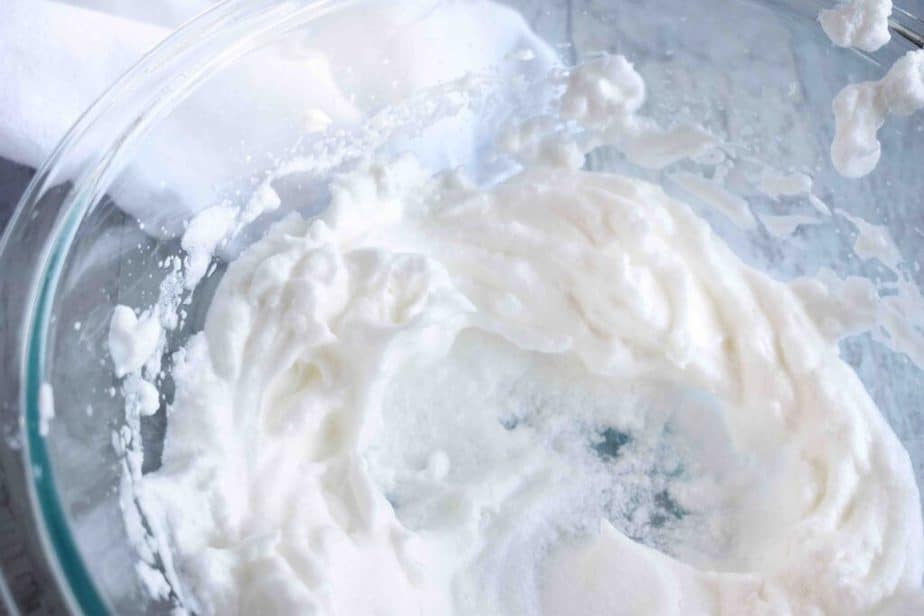
Whip Egg Whites to Stiff Peaks
So what does stiff peaks stage look like? It looks like this (see above). You should be able to lift your beaters up and get stiff little cone shapes (a.k.a. peaks). If your peaks are curling at the end then beat your egg whites just a little bit longer. BUT, be careful not to over whip your egg whites past stiff peak stage or your egg whites will be dry and so will your cake!
How to Fold Whites into Your Cake Batter
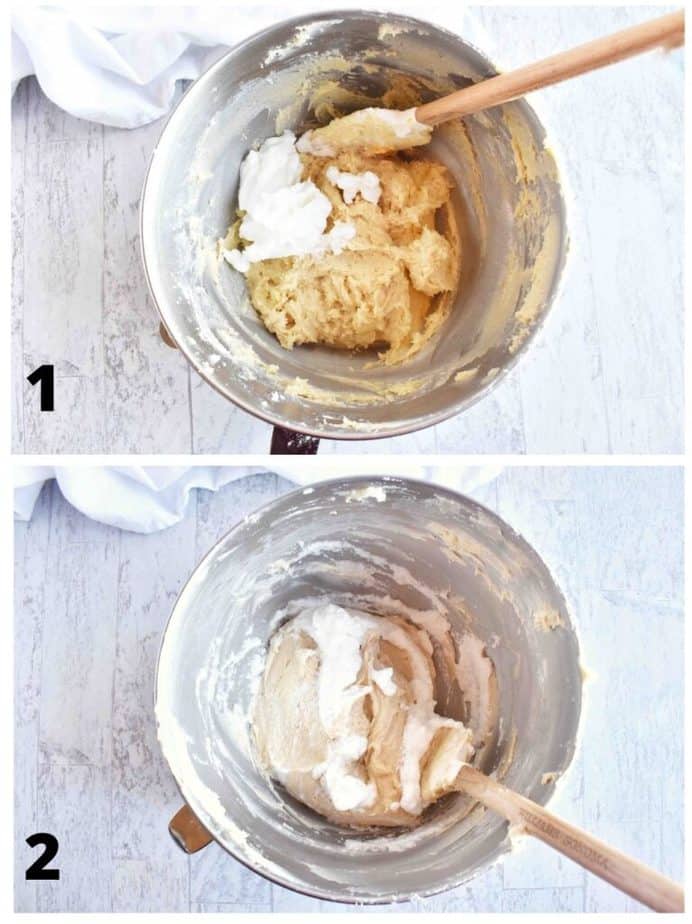
Once you have your egg whites whipped you’ll need to incorporate them with the rest of your cake batter. So we just spent all this time whipping air into the egg whites, and our goal is to not lose that air! Start by taking ⅓ of your whipped egg whites and gently fold them into your cake batter. I like to use a rubber spatula to do this, and use a gentle folding motion. You’ll do this until there are not streaks of batter or egg white left and the cake batter is uniform in color. Then, you’ll add your remaining egg whites into the batter, and repeat that gentle folding motion, again until the batter is uniform in color.
2) Your Batter is Over Mixed
It’s tempting sometimes to keep mixing that batter more and more to make is super smooth. But if you over mix your batter it can cause problems with your cake.
When adding in your dry ingredients, just mix the batter enough that it is smooth. If you beat it too much the gluten in the flour can start to develop and you’ll end up with a tough cake, and one that sinks.
The same thing applies to mixing in your egg whites. Like we said above, you want to keep as much air from those whipped egg whites as possible, if you over mix the batter then you’ll beat the air out of the egg whites, causing the batter to deflate and your cake to fall.
3) Your Cake is Under Baked
This one is pretty simple. If your cake is under baked, then the structure in the center isn’t strong enough to support itself (because it’s still too soft) and the cake will sink in the center.
Why is my cake dry?
Is there anything worse than dry cake? I’ve found that the usual culprits in this cake that cause dryness are that your egg whites are dry.
Go see the section above on “Whip Egg Whites to Stiff Peaks” to see what I’m talking about.
The other most common problem is that your cake is over baked—too long in the oven = dry cake.
The last problem I see all too often is improper measuring of flour. If you don’t know, flour tends to compress on itself, so if you just stick your measuring cup into the bag of flour and fill it up, there’s good chance you’re getting too much flour, which will give you a dry and dense cake. I like to weigh my flour (this recipe calls for 260 grams), but if you don’t have a food scale, please save your cake and check out our How to Measure Flour Correctly post!
How to tell if your cake is done:
Finding that exact moment to pull your cake out of the oven so it’s not under baked and not over baked can be stressful. I use two techniques to check and see if my cakes are done: the spring back method and the toothpick method.
The Spring Back Method
So the spring back method is pretty easy. I take the cake, and I use my fingers to gently push down on the center of the cake. If it springs back, it’s done, if it stays compressed it needs just a little bit longer in the oven.
The Toothpick Method
You’ve all heard of this one, stick a toothpick in the center and if comes out clean it’s done! But, what I also like to look for is actually a few moist crumbs on my toothpick. This tells me the cake is baked, but still moist in the center and not dry and over baked.
The Best Chocolate Frosting for Yellow Cake
I love me some chocolate frosting! Now, normally, if I was making a chocolate cake I’d probably use my favorite Chocolate Fudge Frosting recipe—this one is ultra rich and sets up stiff like actual fudge. But, I think this yellow cake calls for a rich, but soft and silky chocolate buttercream frosting. It’s rich, but not too rich, and is the perfect companion to this buttery yellow cake.
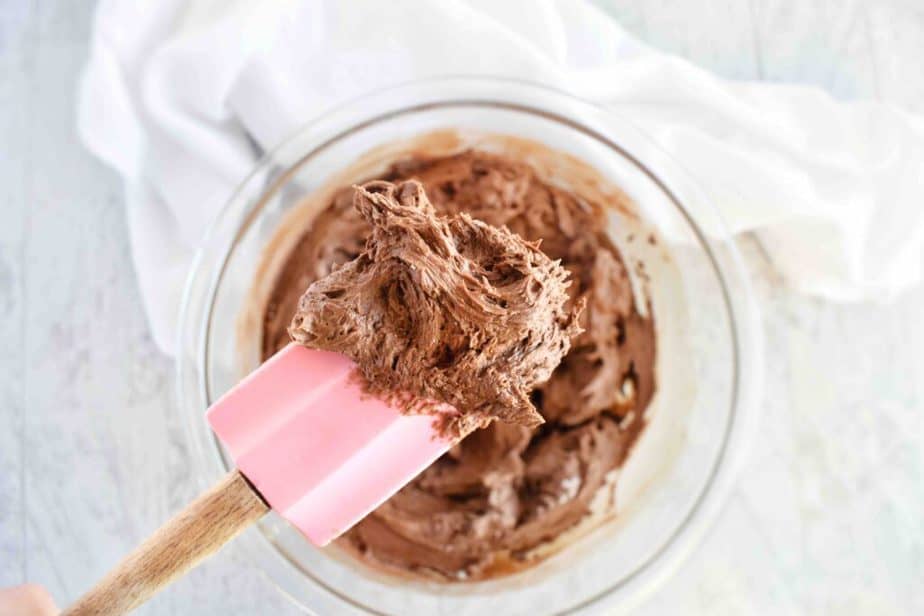
Making the Chocolate Buttercream Frosting
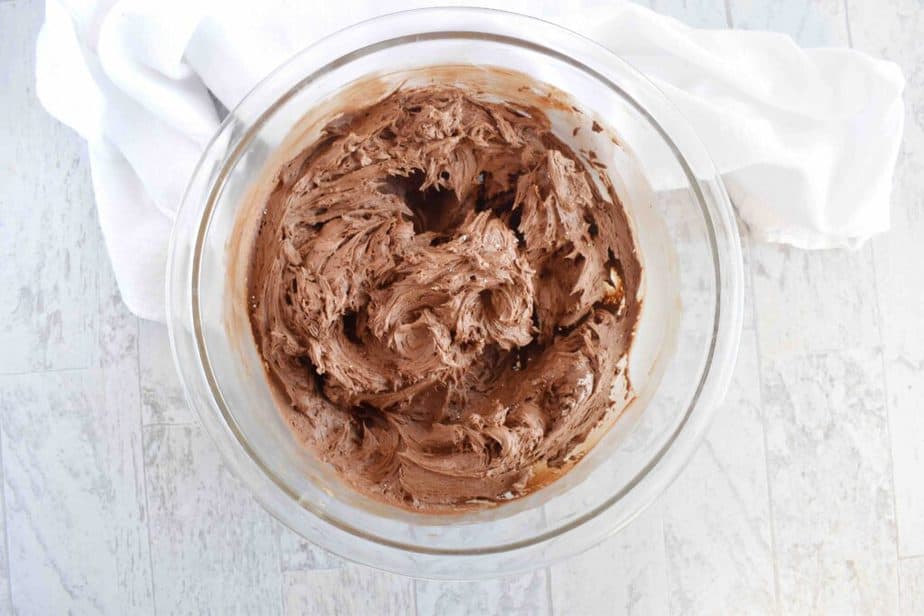
This chocolate buttercream frosting is simple to make, start by whipping your butter on high for a couple of minutes until light and fluffy—this will give your frosting the perfect texture. Then add in your cocoa powder, powdered sugar, cream, vanilla, and salt, for another 3 minutes. Your frosting should be nice and smooothhhh.
I use a basic cocoa powder in this buttercream, but if you prefer a darker chocolate flavor you can use a dutch processed or natural cocoa powder in the recipe.
If you find that your frosting is a little too thick add a little more cream (a teaspoon at a time) until it is the right consistency. If it’s a little too thin, add more powdered sugar (¼ cup at a time) until it’s thick enough.
How to Layer a Cake and Frost it
- Start by leveling your cakes. If your cakes are not flat to start, then slice off the tops of the cake so they are flat.
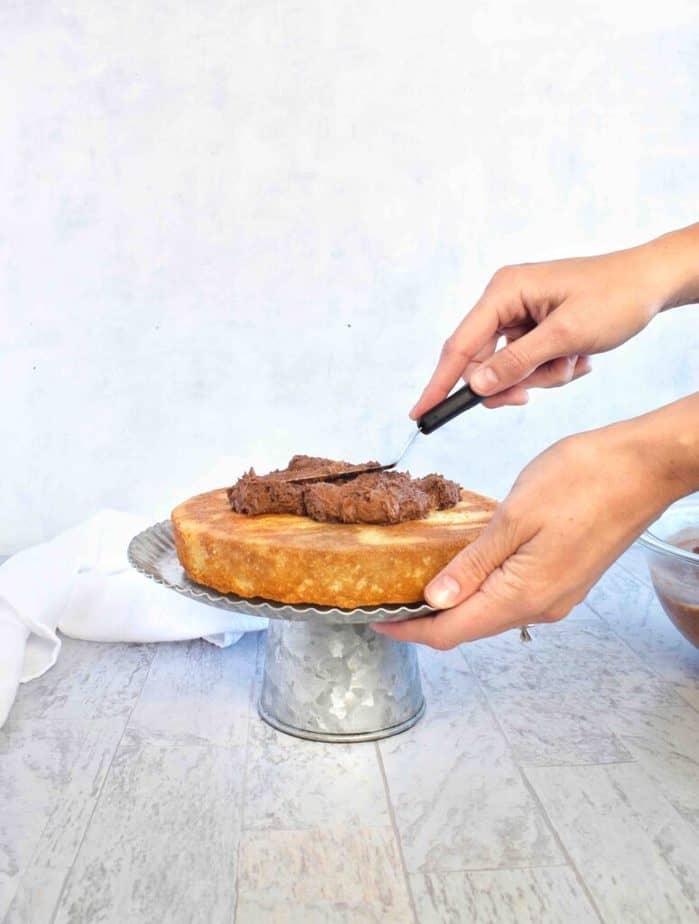
- Place the first cake layer on your cake stand and slather a thick layer of frosting on top. Use a knife or an offset spatula to spread the frosting over the top of the cake. Never let the knife or spatula touch the cake (there should always be frosting in between the knife and cake), otherwise you’ll pull up crumbs into the frosting.
- Take your second cake layer and place it top side down. This will give you a smoother and flatter top for your cake.
- Optional: Crumb coat your cake. Spread a thin layer of frosting all over the cake to catch any crumbs and freeze the cake for 20 minutes. This will make it easier to frost the cake.
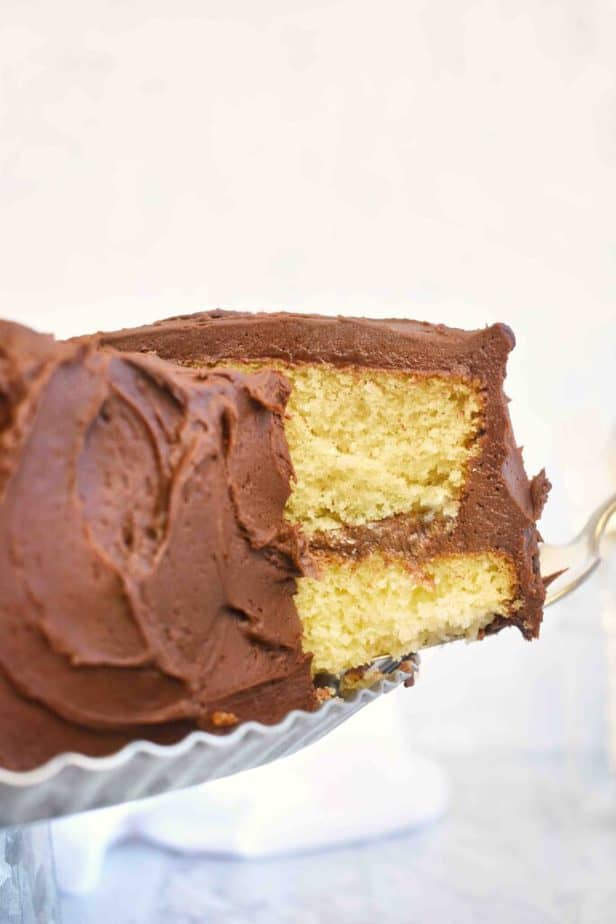
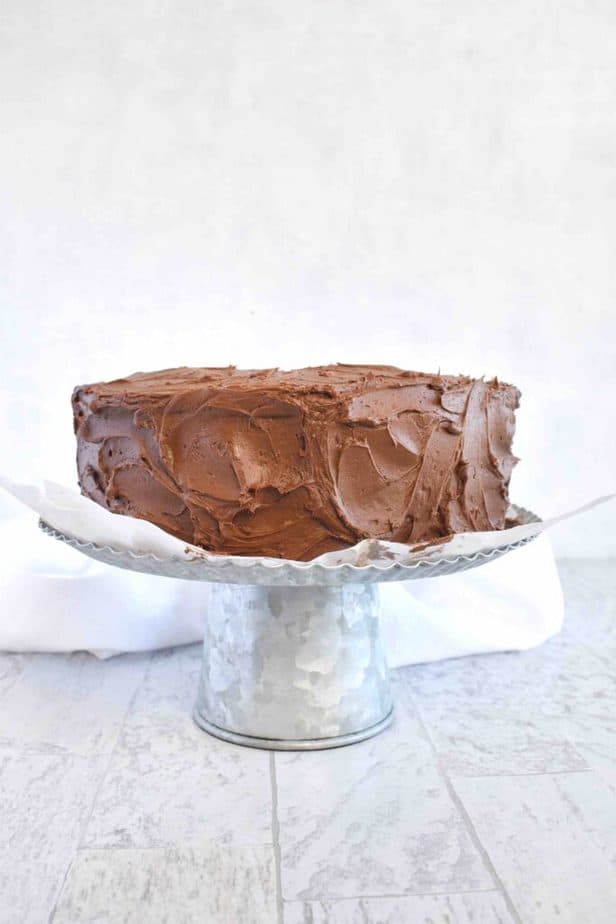
- Spread a thick layer of frosting around the top and sides of your cake. You can use a cake scraper to give you smooth sides, or use the back of the spoon like I did on this cake for a more rustic look.
How to Keep the Cake Plate Clean When Frosting
One of my tricks I use when frosting a cake on a cake stand is to cut 2-3 inch wide strips of parchment or wax paper and slide them underneath the edge of the cake. Then once you are done frosting your cake, pull the paper strips away, and you’re left with a nice clean cake stand!
How long does this cake last? Can I freeze it?
This cake is best eaten within about 4 days. Remember to keep it tightly covered in plastic wrap so it doesn’t dry out!
This cake can absolutely be frozen for a sweet treat in the future. I like to cut individual slices, wrap them in plastic wrap, and then store them in a large Tupperware container in the freezer. This makes it super easy to pull out a single piece to thaw whenever you’ve got a craving! Just remember to eat it within 3 months of freezing.
Enjoy!
Alyssa
Don't forget to pin this recipe for later! You can also follow us on Pinterest here!
Tried this recipe and loved it? Comment and Rate it! Also send us a picture, WE WANT TO SEE!
Yellow Cake with Chocolate Frosting
Ingredients
- Yellow Cake
- 1 cup butter room temperature (NOT melted)
- 1 ¾ cup + 2 tablespoons sugar
- 2 eggs large, room temperature and separated
- 1 tablespoon vanilla
- 2 teaspoons butter extract optional
- 2 cups flour measured correctly (260 grams)
- 2 teaspoons baking powder
- ¼ teaspoon baking soda
- 1 teaspoon salt
- 1 cup buttermilk
Chocolate Buttercream
- 1 cup + 2 tablespoons butter room temperature
- 1 cup unsweetened cocoa powder sifted
- ½ teaspoon salt
- 1 teaspoon vanilla
- ½ cup cream
- 4 ½ cups powdered sugar sifted
Instructions
Yellow Cake
- Preheat oven to 325 degrees Fahrenheit. Line the
bottom of two 8-inch cake pans with parchment paper, then grease pans and set aside. - Cream together sugar and butter and mix on high for 3-4 minutes, then scrape down sides. Add in your egg yolks, vanilla, and butter extract and beat until smooth.
- In a large bowl mix together flour, baking powder, baking soda, and salt.
- Add about ½ of your dry ingredients and ½ of your buttermilk to your creamed butter-sugar-yolk mixture. Mix until smooth. Repeat with remaining half of dry ingredients and buttermilk. Mix, make sure you scrape the bottom of the bowl with a rubber scraper to make sure everything has been mixed in.
- In a clean bowl, with clean beaters. Beat your egg whites to stiff peaks. Take about ⅓ of your egg whites and gently fold them into your cake batter. Your batter should be uniform in color with no streaks. Then gently fold in your remaining egg whites until you have a uniform batter.
- Divide your cake batter into 2 8-inch pans (can use 9-inch, just decrease bake time slightly). Bake at 325 for 30-35 until cake gently springs back when pushed on and a toothpick inserted comes out clean (a few moist crumbs is stuck to it are okay).
Chocolate Buttercream and Cake Assembly
- Take your room temperature butter and beat for 1 minutes until light and fluffy. Then add in your cocoa powder, salt, vanilla, cream, and powdered sugar.
- Start by beat on low (so your powdered sugar and cocoa powder don’t fly everywhere) and once the mixture comes together, turn the speed on high and beat for 3 minutes. Your frosting should be light and fluffy.
- Once your cakes are completely cool, slice off the top of your cakes if they are domed so they are completely flat.
- Spread a layer of frosting over your first cake layer and then stack your second layer on top. I like to place it top side down so you get a flatter top with less crumbs.
- Then frost the top of the cake and outside edges of the cake. I used the back of a spoon to give my cake some “swoops” in the frosting. Slice and enjoy!
Notes
dutch-processed cocoa powder.
Nutrition
Share it on Instagram and tag us and tag #infinetasterecipes so we can see it!
Are you part of our Facebook Page? Follow along with what's new on In Fine Taste, share YOUR favorite recipes, ask questions, post pictures of what your making, and more! Like our page HERE
Sherri
There’s so many tips and hints for cake mixing and baking! Thank you!